Are the pods ripe? If it’s been about 7-8 weeks since fertilization and the pods are beginning to turn brown or open up at the tips, the seeds are ready to be harvested.
Collect the seeds and soak them in warm water overnight. The next day, put them in a zip-lock type bag and place the bag in the crisper drawer of your refrigerator. Daylily seeds require a minimum of 4 weeks cold stratification before they will sprout. Important: Label your bag prominently so your harvest won’t accidentally end up on your dinner plate.
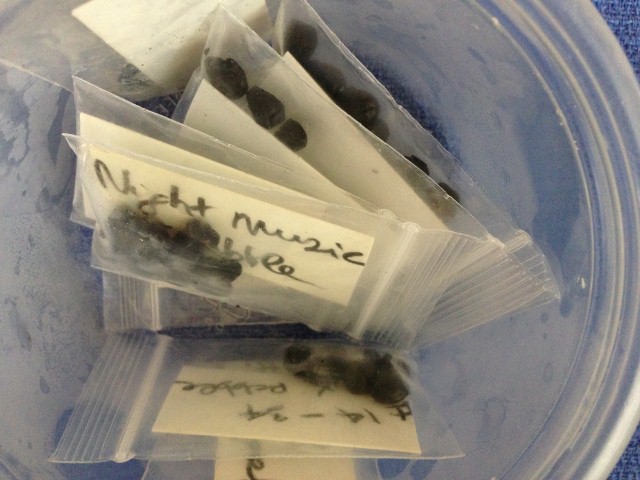
daylily seeds
When you are ready to plant the seeds, remove the bag from cold storage. Check first. Have the seeds already started to sprout? If yes, you can go ahead and plant them. if no, add some water to the bag and leave out in a dark and warm location. For the next week, check daily to see if seeds are starting to germinate. If there are no white feet popping out, put the bag back into the crisper for a week as the cold period needs to be extended a bit more.
It’s time to plant, what to do?
Plop seeds into pots filled with potting mix and place in a warm and sunny location. How deep to plant? Some sources recommend covering with about an inch of potting mix, others suggest they will do fine gently pushed on top of the mix as long as they are kept moist. I either bury them or cover the pot loosely with piece of plastic kitchen wrap because I tend to forget to mist them as frequently as they like.
Watch for green leaves and once the plants are about 5-6 inches tall they can be planted out in your garden. Soon, you’ll have completely new daylily varieties – that may or may not look anything like their parents – growing in your garden.