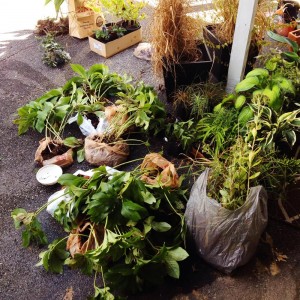
Have you enjoyed a plentiful pepper harvest this year? Are you wondering what in the world to do with all your peppers? Recently a Green Thumbs Galore customer mentioned that he and his wife uses ice cube trays to freeze peppers. Over the winter they use more cubes for hotter dishes. We thought it was a brilliant idea!
One lesson that I learned the hard way is that it is best to wear gloves when you’re working with peppers. Some people say that rubbing lime juice on your hands will protect them, but Belle has had no luck with this method and I’m not willing to take any chances. It’s also a very good idea to not touch your face. I was making salsa with fresh, hot peppers one time and ate a tomato. I inadvertently touched my lip and it burned for hours!
If you’d like to try the freezer method, chop your peppers finely, put them in the trays, then top the trays off with water. After they are frozen solid, remove the cubes and put them in freezer bags. You can then just add the cubes to soups, chilis, casseroles, or whatever you want throughout the winter.
Peppers can also be frozen whole or sliced in half. Wash them and make sure they are completely dry. If you are slicing them, you can either remove the seeds or not — the best thing to do is whatever you would do if you were using the peppers fresh. You’ll want to freeze them individually before putting them in a bag in order to prevent them sticking together in the bag. Spread them out on a cookie sheet and stick them in the freezer for a couple of hours, then put them in freezer bags, date them, and pop them back in the freezer.
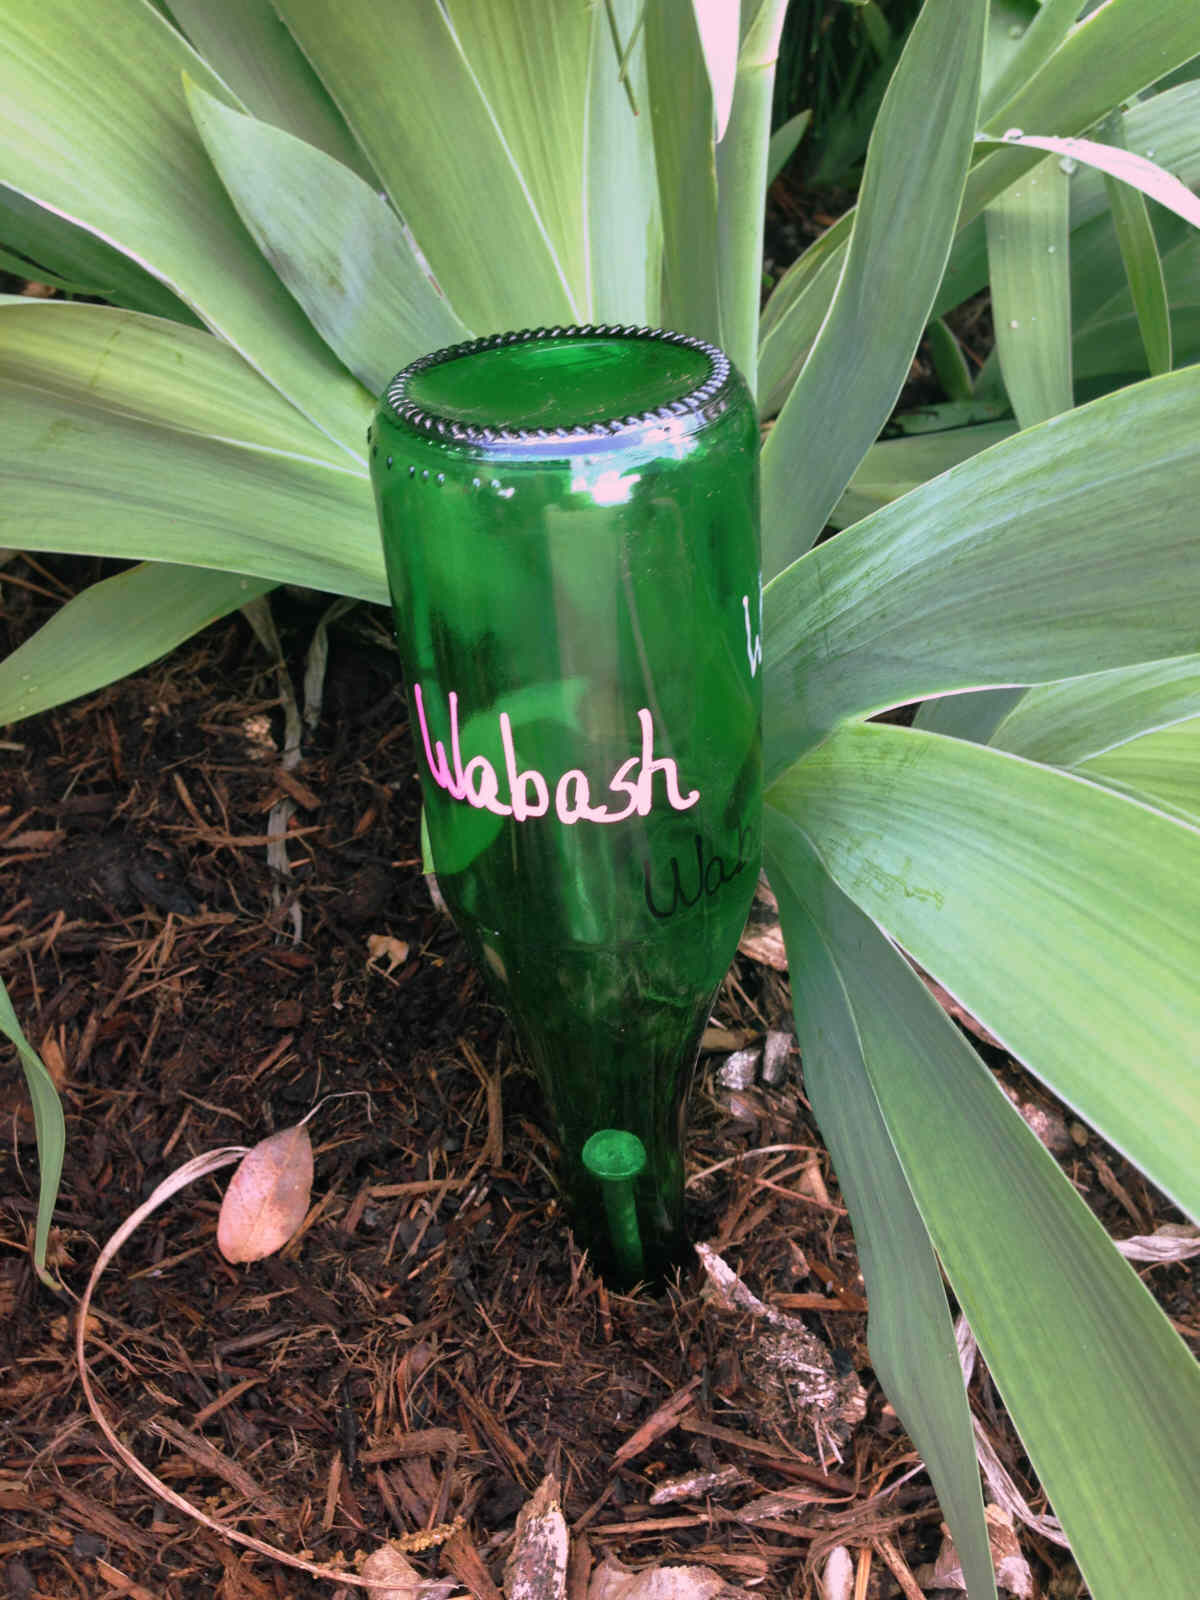
Another way to make your pepper harvest last all year is to make pepper sauce. Pepper sauce is so simple and so versatile you’ll wonder why you haven’t made it every year. All you need is a glass bottle with a cork or a cap, vinegar, peppers, and whatever spices you like. We usually use garlic cloves and black peppercorns. Heat the vinegar but not to boiling. Stuff your peppers, crushed garlic, and about a teaspoon or so of black peppercorns in your jar. Fill the jar with hot vinegar. The mixture doesn’t have to be refrigerated, and if the vinegar runs low, just add more. Pepper sauce is excellent with greens, pinto beans, black-eyed peas, and cornbread.
If you prefer hot sauce, the ingredients are nearly the same. The difference is, you cook the mixture until the peppers are soft, then you puree it and pour it into your jars or bottles. Add ingredients or spices as you like. The beauty of working with peppers is that they are so flexible. You can make your sauce hotter — pureeing the peppers makes the hot sauce HOT — or not, you can add onion, or salt, or even a little sugar. It’s nearly impossible to ruin hot sauce or pepper sauce.
What is your favorite way to preserve your pepper harvest? 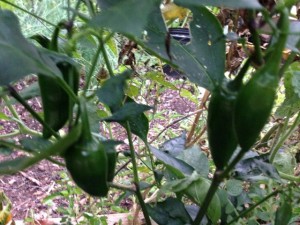
Jalapenos
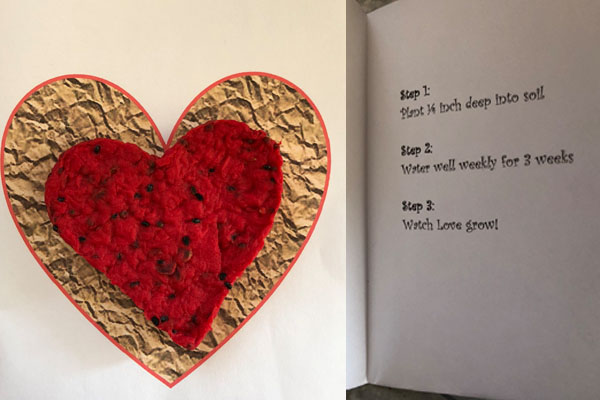
 Use 1 cup of paper pieces to 1 cup of warm water, let sit for a minute or two inside food processor. Then cover food processor with towel and pulse until there is mush.
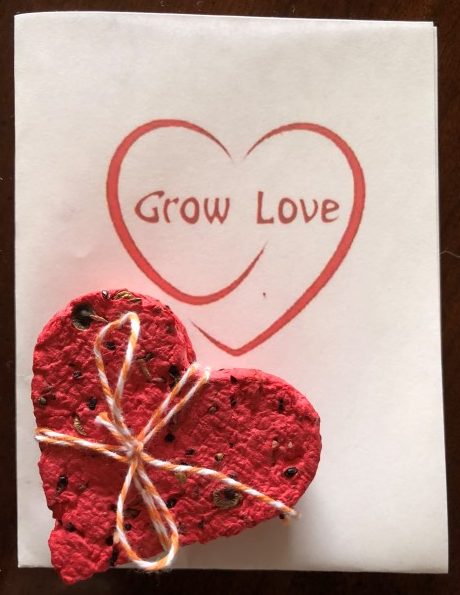
 of seeds will go a long way, I was way too generous with my first batch.