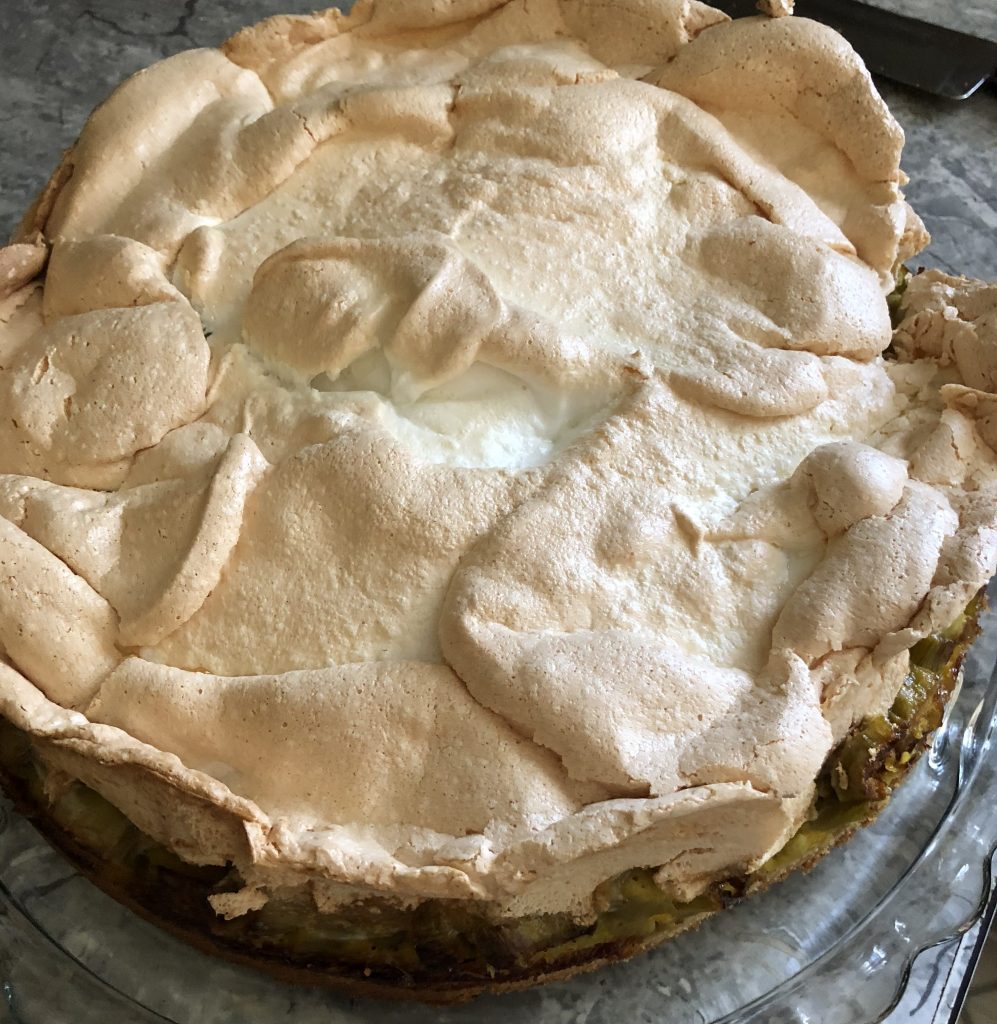
Homemade Satsuma Marmalade
Just as the taste of a homegrown tomato cannot compare to the grocery store version, so too is it with homemade marmalade where the flavor pops on your tongue.
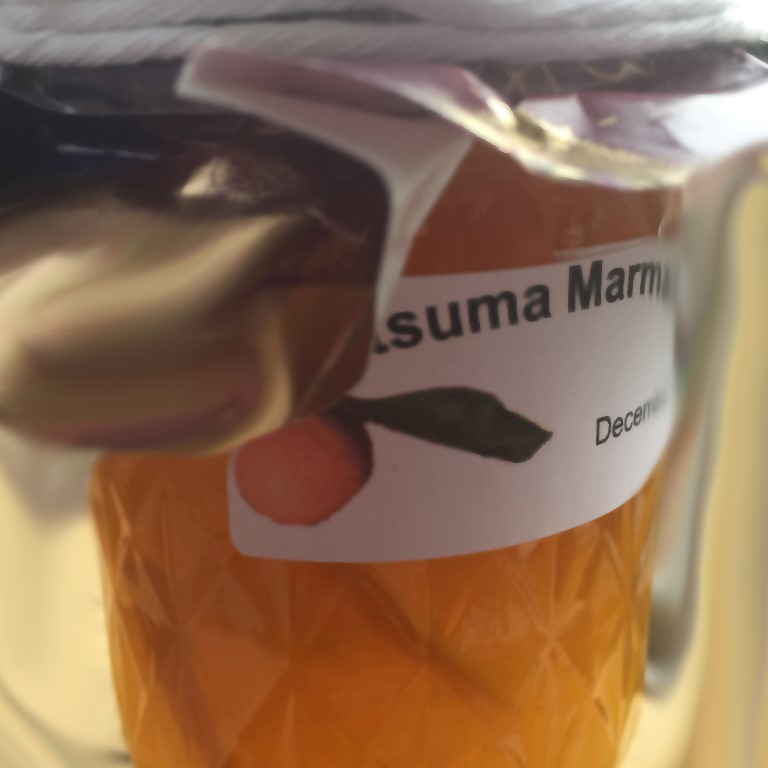
Satsuma Marmalade
This recipe is simple, delicious and a great recipe for beginning canners. 100% deliciousness in a jar that goes perfectly on toast, saltines, chicken, pork, with coconut shrimp, and, and, and…
Tie a pretty ribbon around the top and it makes a great gift at any time.
Ingredients:
- 12 Satsumas (about 2.5 pounds, can substitute Mandarin or Clementine oranges), quartered and thinly sliced, discard any seeds.
- 1 lemon, zest and juice, discard any seeds
- 6 cups of water
- 4 pounds of sugar

Equipment:
- Saucepan
- Candy Thermometer
- Jelly Jars, Lids, and Rings
- Wooden Spoon
- Ladle
- Funnel
1. Wash the fruit with warm water and scrub with a brush to remove any dirt, grime or sprays that may have been used on the fruit before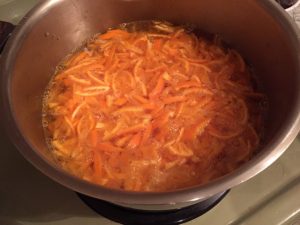 harvest.
2. Quarter and cut the satsumas into thin slices.
3. In a heavy saucepan add water, all the fruit and lemon (zest and juice). Bring to boil and then simmer for 35-45 minutes until peel is tender.
4. Prepare your jars.
5. Remove pot from heat and add the sugar. NOTE: the rinds will stop softening once the sugar has been added, be sure it is to you desired tenderness before adding sugar.
6. Over medium heat, bring the fruit/sugar mixture up to boiling – stirring constantly. Cook to the jellying point (222 degrees F on a candy thermometer). Once the temperature starts rising over 212 degrees, it will take an additional 30-45 minutes to get to this point. Do not rush here as your marmalade will not set if you are impatient.
7. Ladle hot marmalade into jars, leaving 1/4 inch head space. Wipe jar rims and adjust lids. Process for 5 minutes in a waterbath canner.
8. Check seals when cool and label. ENJOY!
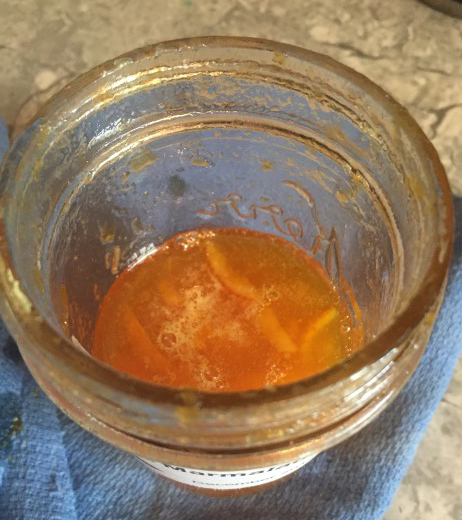
Satsuma Marmalade going…going…gone


 Thank you for supporting your local farms, farmers markets, and local businesses, that is an incredible expression of love and support.
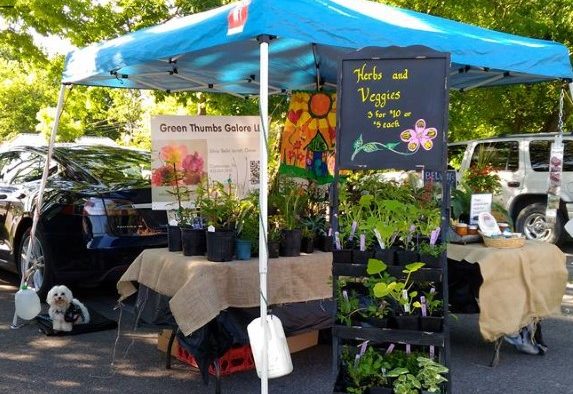

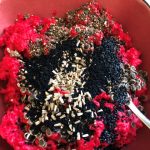 Use 1 cup of paper pieces to 1 cup of warm water, let sit for a minute or two inside food processor. Then cover food processor with towel and pulse until there is mush.
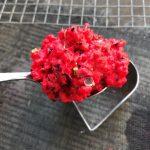 of seeds will go a long way, I was way too generous with my first batch.
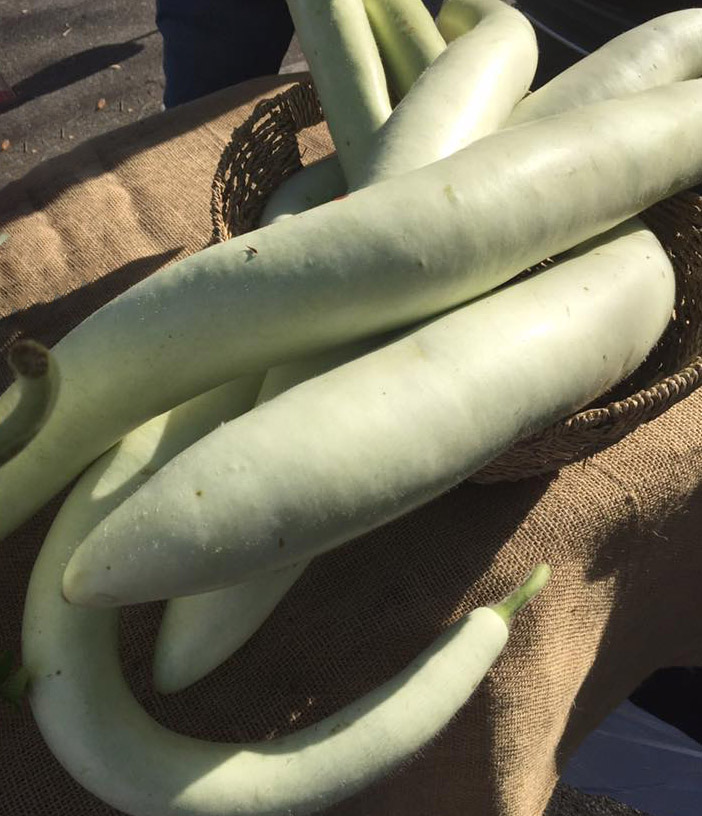 Maybe you have seen this amazing vegetable at a Farmer’s Market or maybe you even grow it yourself in your garden? It has many different names such as serpent zucchini, italian squash, serpent of Sicily, zucchetta, calabash, and other names. They can be used
 like zucchini or summer squash, taste great, stay fresh for 2 weeks without refrigeration, and their most amazing feature is that they self-heal. Just cut off as much as you want to use and leave the remaining portion out on your kitchen counter. In no time, the end will dry and seal in the moisture and freshness of the left-over portion. when ready to use more, cut off another piece and discard the dried end.
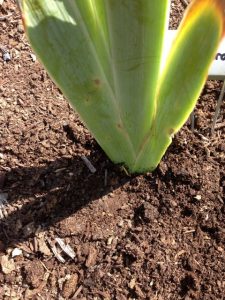
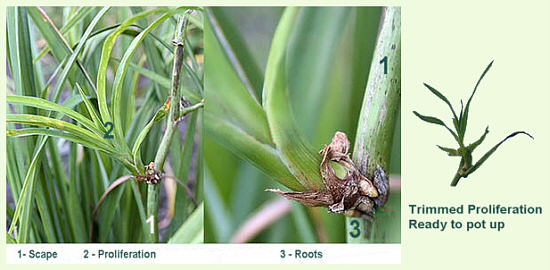
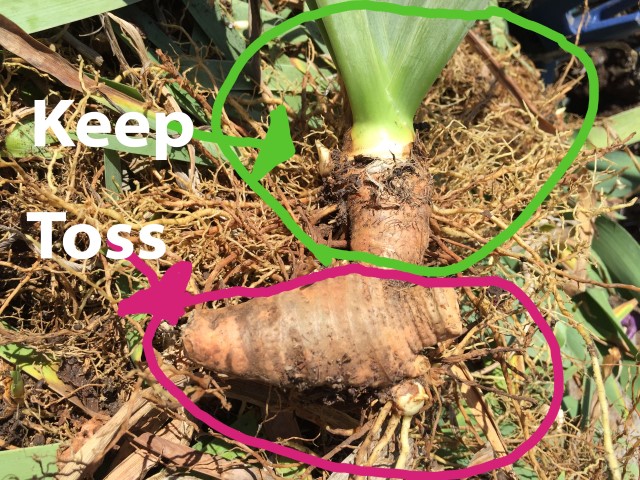 You know it’s time to divide and thin your iris when the clumps are crowded and the blooms are declining in numbers. There are many opinions on the best time of year for tackling this task and this mostly depends on where you live. As long as there are a good 4 weeks before the first freeze and you are able to provide adequate moisture, the iris will thank you with prolific blooms next spring. So go ahead and get started.
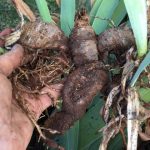 1. Lift the iris out of the ground. I prefer to use a garden fork, lift the whole clump, shake of the soil, a
 nd transfer the clumps to a wheelbarrow, one variety at a time.