Turn old bottles into plant markers

Some ideas are just asking to be shared more! When I saw a post from Lorilee at Cackleberry Cottage about using wine bottles as row markers in the garden, I immediately thought about giving new life to all types of old bottles by recycling them into iris and daylily plant markers.
Being short on empty wine bottles, I used an empty beer bottle instead.  I wrote the name of my plant on the bottle with a pink, waterproof chalk pen, nail polish and a black paint pen.  Maybe I am a bit compulsive? I do like the pink chalk pen the best but only time will tell which method has the most staying power.  To help the bottle stay put, I pushed a 40D nail into the ground and anchored the bottle upside down over the nail head.

Bottle used as Plant Marker

Vertical Gardening: Up. Up. Up

There are lots of reasons to try vertical gardening. The most frequently mentioned is space, but even if you have plenty of room you might want to try it for aesthetic reasons. A vertical garden creates an attractive screen, a focal point similar to a painting on a wall, or shade.

Your imagination is the only limit when it comes to vertical gardening. One of the first times I encountered it was in reading Square Foot Gardening by Mel Bartholomew. As the title suggests, space was the main concern in that book. Bartholomew lays out instructions for growing a number of vegetable garden crops vertically, including watermelon! He uses nets for the melons.

Some plants must be grown vertically for best results. Peas, cucumbers, some varieties of beans, and plenty of other vegetables — not to mention the many types of climbing roses —  require poles, stakes, or trellises. Our fence row is decorated with gorgeous (if invasive) morning glories every fall.

My own current efforts at vertical gardening include a grape arbor:

grape arborsome peas on an old cast iron gate (the pea plants are still tiny):

pea trellisand a structure for a sweet autumn clematis that appeared magically growing up a tree in my front yard last year (I haven’t moved the plant yet — just put together the structure):

clematis trellisBesides an indulgence of my unpredictable whims, all of these vertical structures are simply to provide interest in the garden. I worry about having too many plants that are roughly the same height — or the same color, or that bloom at the same time. (Sigh. The complications of haphazard gardening.)

Belle uses succulents in a really interesting vertical structure. The wooden structure creates a frame, and the succulents are a variety of color and texture. The whole thing looks like a work of art.

Regardless of how much space you have, you may want to try your hand at growing some plants up and up. The most important thing is to make sure your structure is sturdy enough to withstand the pull and tug of your plants. Before we built the grape arbor, our grape vines pulled down the flimsy gate they were growing on.

Forgetfulness in the Garden

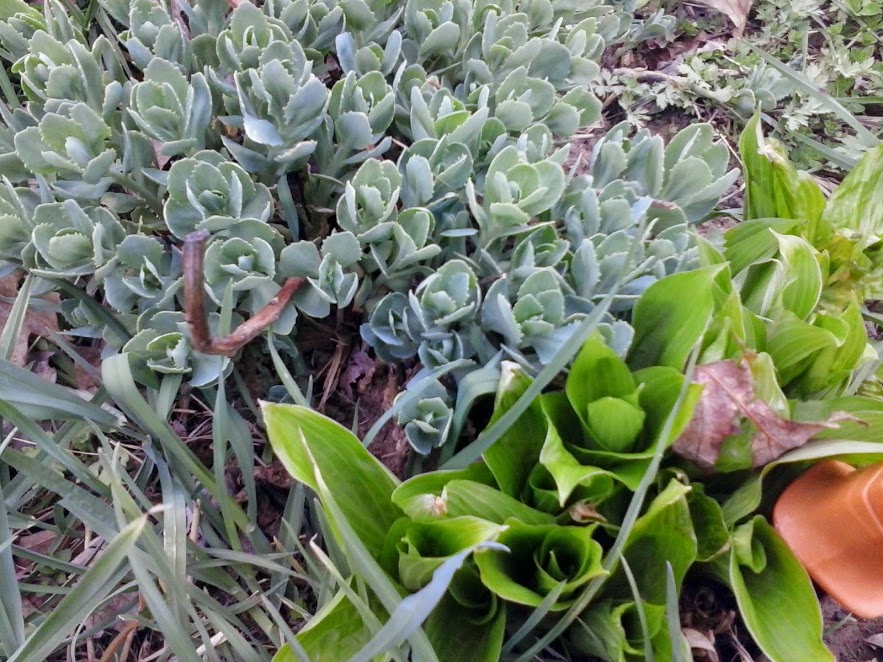
As soon as it was warm enough, I was out in the garden digging around. I had a few hardy perennial seeds to put out, and decided last year to consolidate two or three beds into one big one so still had a few things to move. There was also a tall, floppy sedum that

the consequences of bad (read: no) garden planning

The sedum ended up on top of a hosta. Now I’ll spend the summer seeing which one dominates.

needed to go from the center of the garden to the outskirts.

Anyway, there was almost immediately a problem: not everything was up and I had exactly zero markers. Deciding to rely on memory alone (yes, yes, laugh if you must), I planted some asparagus, moved the sedum, scattered some rudbeckia seeds, built a grape arbor, and moved some raspberry plants.

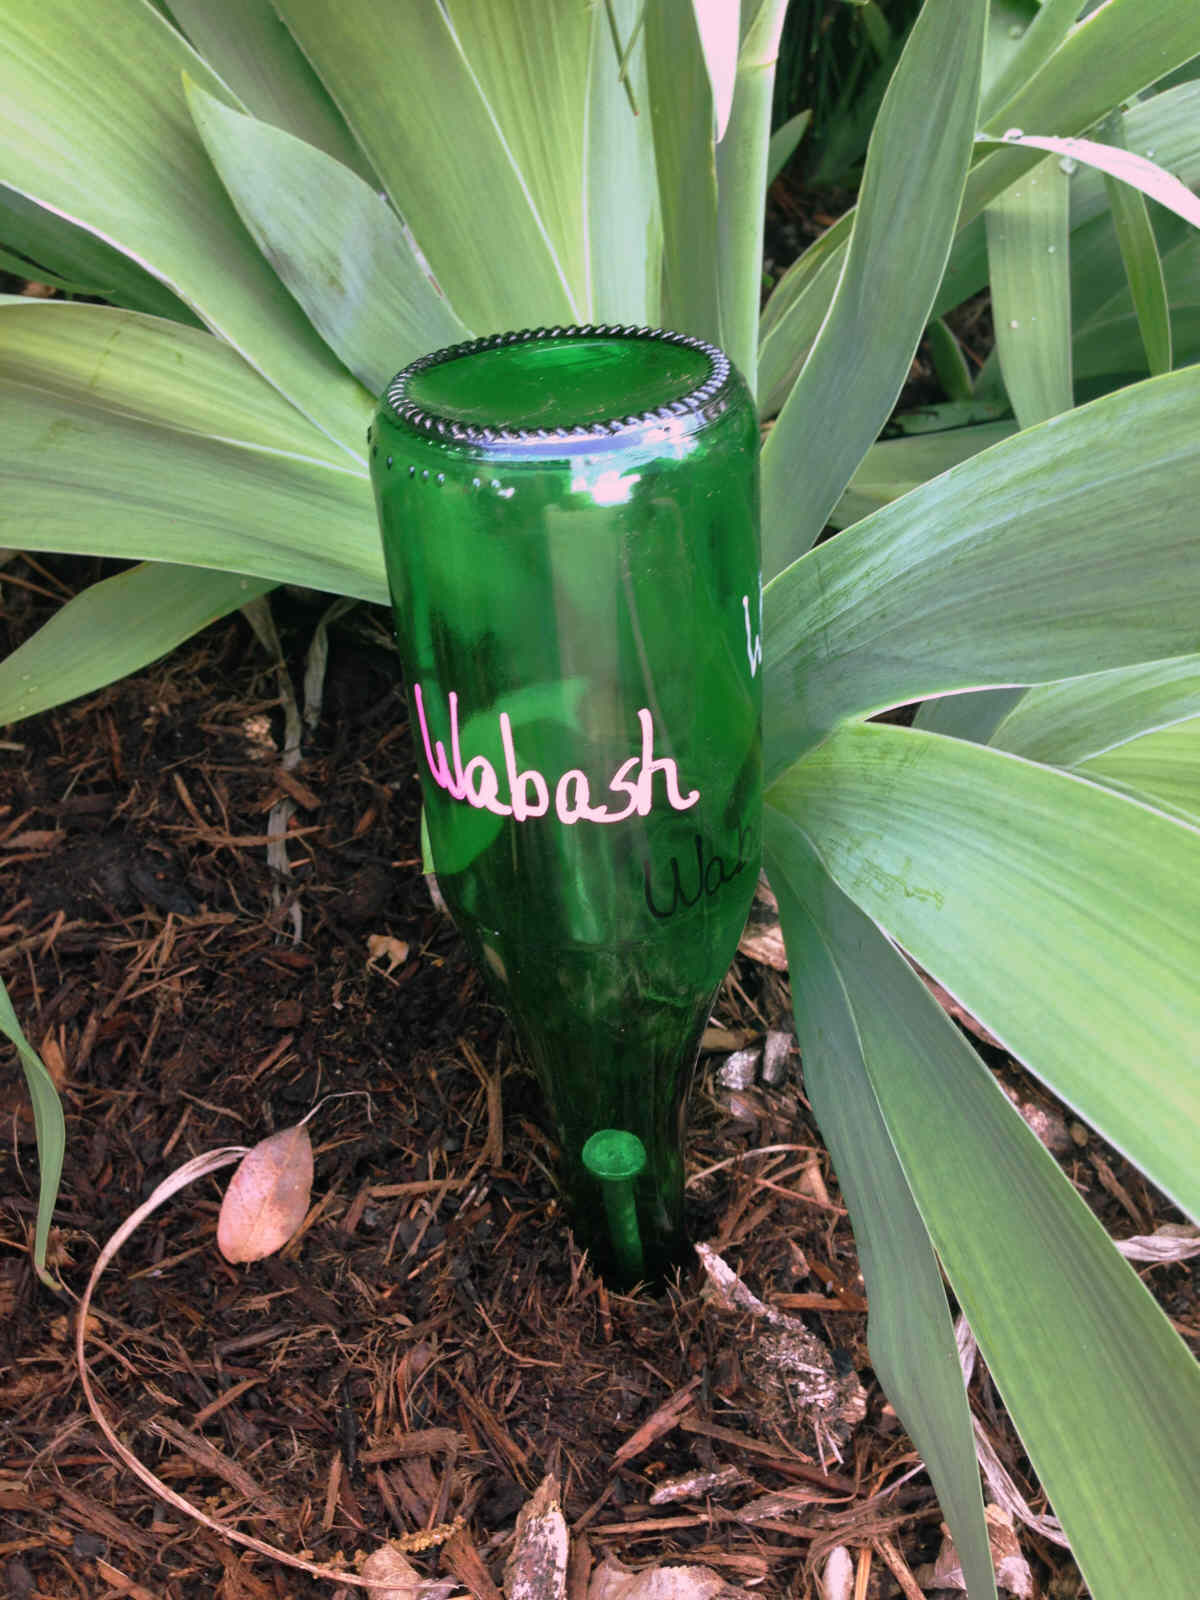
When it became obvious that markers are a necessity in my garden, I started researching different ways to make them (because of course I don’t want to buy them — that would be money that could be spent on plants!) There are some great ideas out there, and I just happened to have a bag of old silverware.

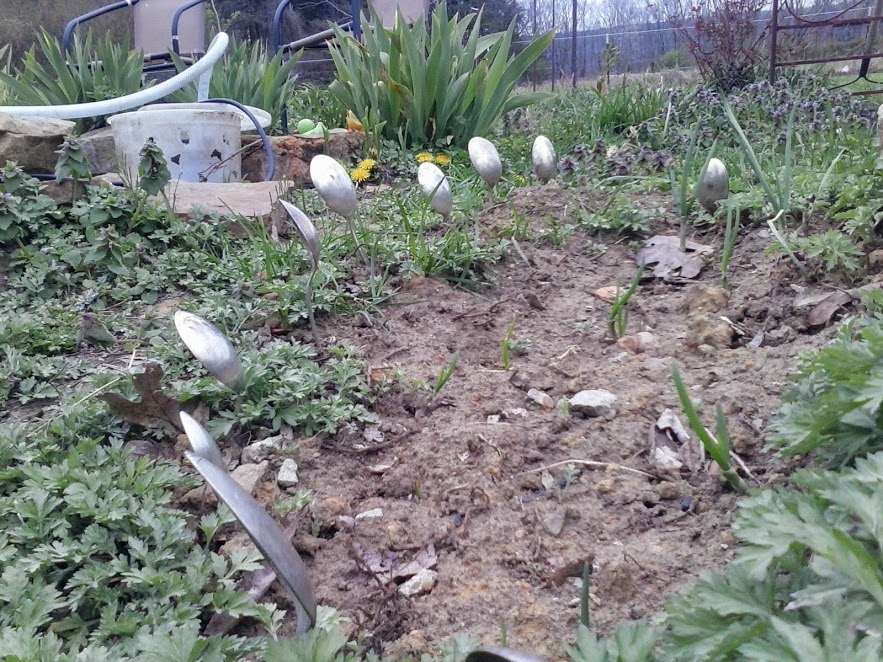
Flattening spoons and stamping names of plants on them seemed like a lot of work, so I decided to just stick them utensils in the ground next to the plants as they came up. Forks marked the hostas, for example. Immediately, my husband started listing off all the reasons this was a terrible idea (mostly he thought the dogs would pull the silverware up and scatter it all over the yard and make mowing hazardous). I ignored him and proceeded to plant spoons and forks all over the garden.

A couple of hours later, I was walking around, staring at the ground, looking for anything new popping up (I spend hours doing this every spring), and noticed that a fork was missing. The inevitable “I told you so!” was not long in coming…but then I found the fork — buried all the way in the ground. Someone had stepped on it!

Clearly ONE piece of flatware would not do the trick. The next week I planted a small

Spoon markers

Spoon markers

patch of onions, and used spoons to outline it.

While this works great for the onions, it’s not really practical for each hosta, coneflower, peony, and other perennial in my garden. The search for effective, attractive, and free markers continues!

Belle’s suggestions:
Try knives and write on them with a paint pen or a bit less attractive but  functional: plastic slats from window blinds and write on them with nail polish pens.


How to pollinate an Iris

Plant Sex.

Now that I have your attention, this post is all about taking a little pollen from one plant and dabbing it on the receiving part of another in the hopes of creating a unique new plant.

It’s essential to be able to identify the reproductive parts of a plant, and for an iris that’s not so easy.  Here’s your road map to get started. Find the beards. They look fluffy and inviting. Think of them as the red carpet, leading towards the door #1, the stamen and door #2, the stigmatic lip.  Those two structures are the necessary ones for the iris mating dance.

If you like to try your hand at hybridizing this spring, it’s easy.  Remove the stamen from one variety and rub it into or onto the stigmatic lip of another.  Wait  for about 3 days, if your efforts were successful, the base of the flower will start swelling and growing, eventually forming a fat, oval shaped balloon. Should your stalk break off the plant, don’t worry, just stick the stem into the ground and your pod will continue to mature! It will take about 6-7 weeks for the seeds to be ready for harvesting.

reproductive parts of an iris


Hummingbird Nectar Recipe

hummingbird in flight

Hummingbirds are always hungry and their favorite food is nectar, be it from the flowers in your garden or from a special feeder.
Please skip the food coloring! Some research suggests this addition is not a healthy choice for birds. The final word is still out on the subject, we suggest erring on the safe side. Choose feeders with prominent colors or hang out some of last years Christmas bows near your nectar feeders instead.

Nectar Recipe

Combine 1 part white sugar to 4 parts water. Bring to slow boil for 2 minutes. Cool before pouring into feeder. Excess may be stored in the refrigerator.