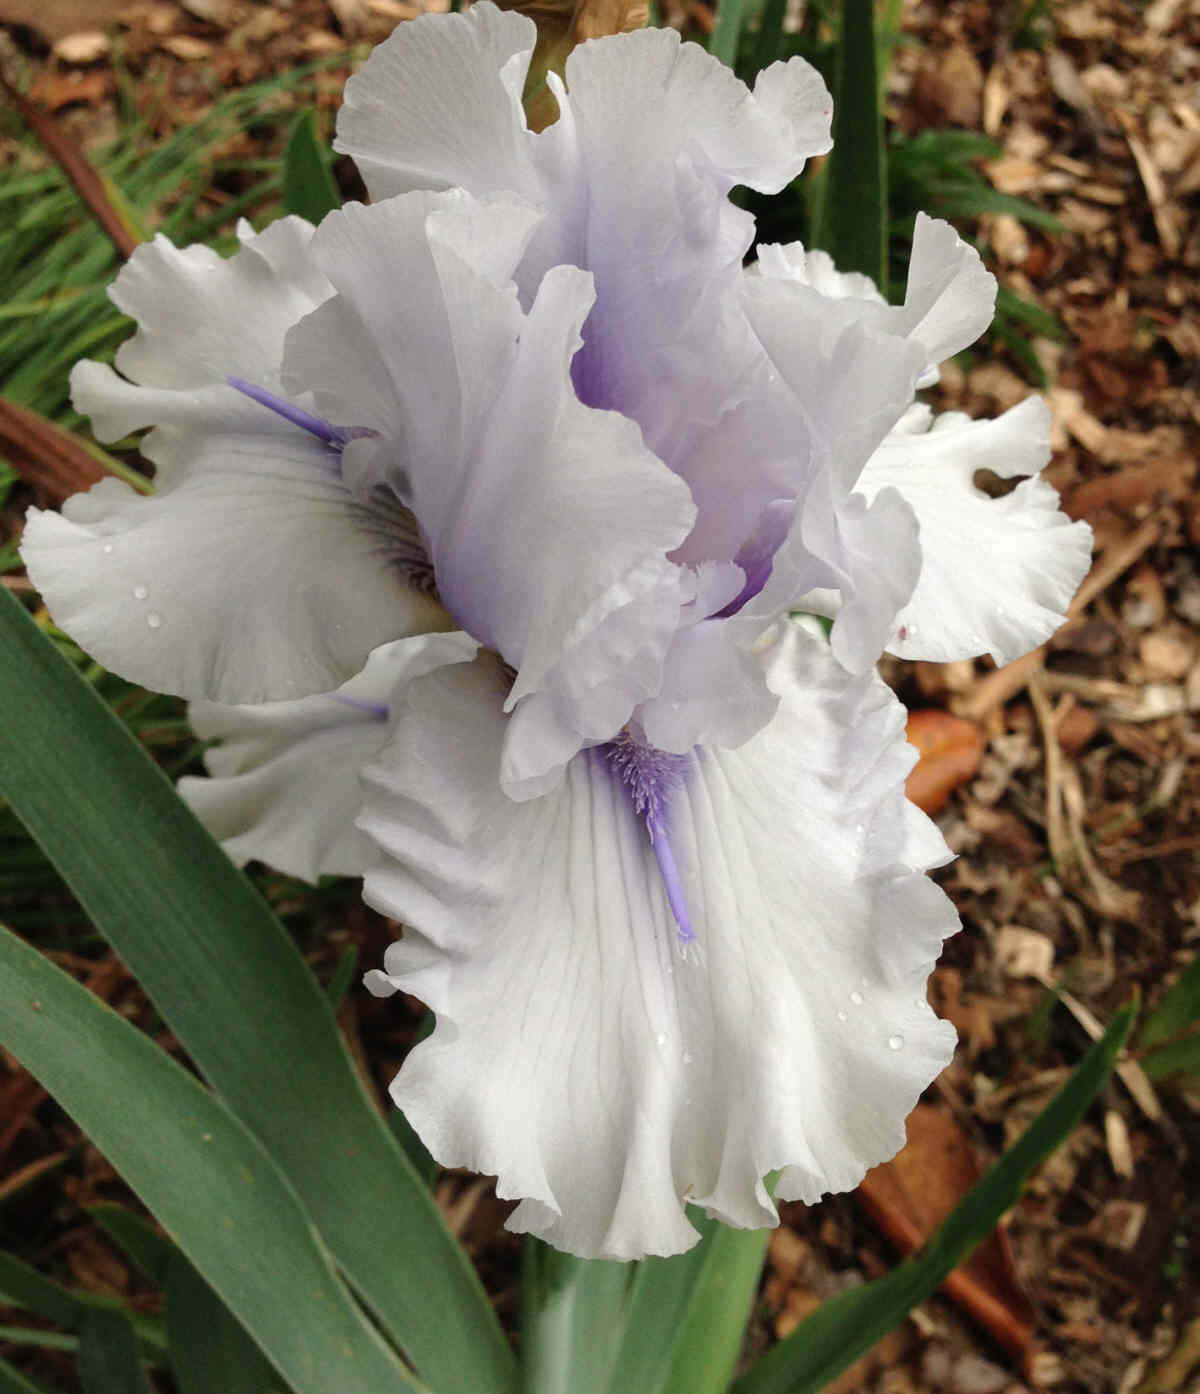
Thin Bearded Iris Easily in 3 Steps

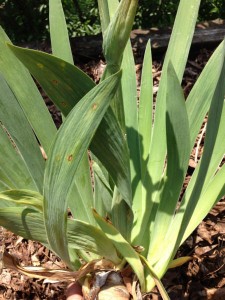
How to thin an iris clumpYou know it’s time to divide and thin your iris when the clumps are crowded and the blooms are declining in numbers. There are many opinions on the best time of year for tackling this task and this mostly depends on where you live.  As long as there are a good 4 weeks before the first freeze and you are able to provide adequate moisture, the iris will thank you with prolific blooms next spring.  So go ahead and get started.

1. Lift the iris out of the ground.  I prefer to use a garden fork, lift the whole clump, shake of the soil, and transfer the clumps to a wheelbarrow, one variety at a time.

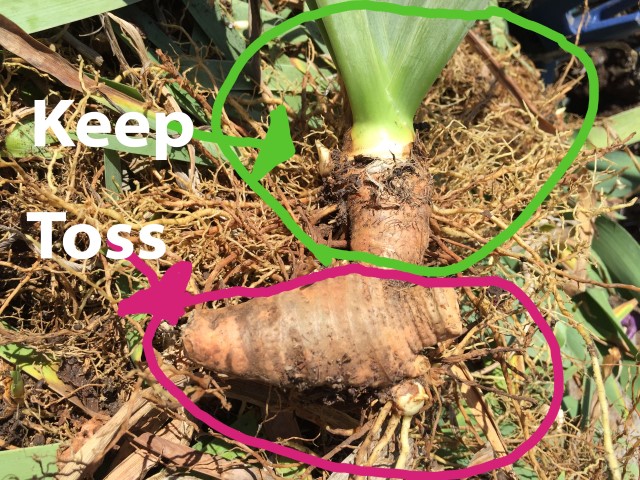
2. Sort and trim. Toss all ‘mothers’ and tiny rhizomes. Keep only healthy looking plants and cut back  foliage and roots.

3. Replant.  If desired or needed, amend the soil for good drainage, then plant and water the iris in well. I recommend planting with the rhizome set into the ground and covered. If you live in a hot and wet climate, you may want to plant them a bit more shallow for better drainage.

A Rescue and a Surprise

A great many of the plants in my garden were not ones I chose. They came to be in my garden because I couldn’t stand the idea of them being discarded. Last summer some folks were working on a house on my street and I was stunned to see them use a mini-bulldozer looking machine to get rid of an iris bed that had been there for years! I felt sick to see it, and wondered why they hadn’t let people come dig bulbs instead. It just seems senseless to me to plow beauty under when it could just as easily be relocated.

Luckily, my friends generally share the sentiment — and often their plants! One friend knew of a house that was recently sold that had lots of flower beds the new owners didn’t want to maintain. She got us permission to go and dig as much as we wanted. This was in the fall so we were digging iris and lilies with no idea at all what they would look like.

Last summer, when we built my pond and tripled (!) the size of my garden, I planted most of the unknowns we rescued around the pond. The lilies bloomed last year and were yellow. Since I didn’t have any yellow lilies (just the regular, native orange day lilies) I was delighted. The iris didn’t bloom until this year.

At first, I didn’t think they were going to bloom. The fans were thick and lush and green, but most of my other irises bloomed out before I spotted a bud on the mystery plants. Then, I thought they were going to be purple. At that point, every single plant that had bloomed in my garden had a purple flower. Several varieties of iris. English wallflower. I’d been hoping for some yellow or white.

The day the first one opened I was stunned. They were a deep burgundy, and the blooms were huge:
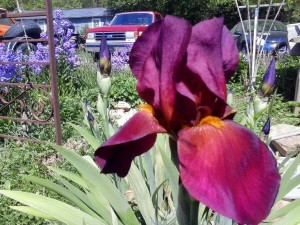
unknown iris

It was exciting! They weren’t purple! They were big and beautiful. And, it turned out they were also prolific. Most stalks had 2-5 blooms each.
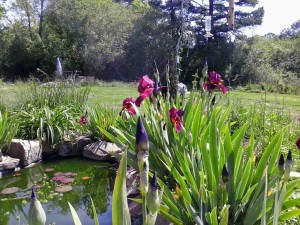
more unknown irises and pond


Even better, they bloomed for about a month! Most of my other varieties only bloomed for a couple of weeks. It was so exciting to watch for a bloom every day and then enjoy the flowers. I even cut a bouquet of them for a friend.

Do you rescue plants without having any idea what they will look like?
Iris Seedpod First Aid

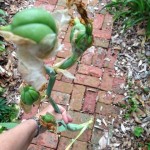
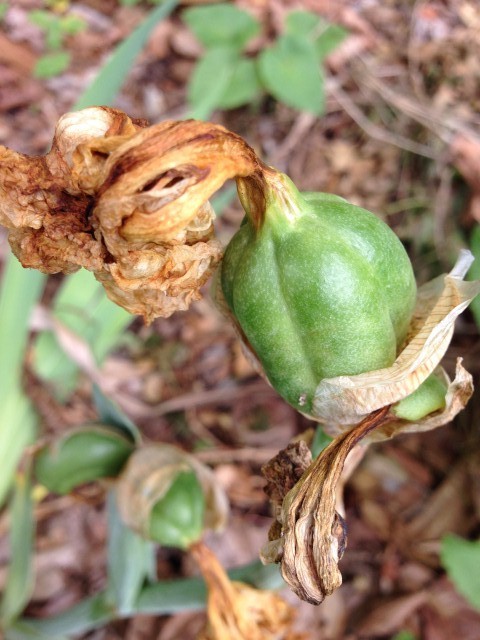
broken iris stem with seedpod

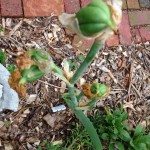
Maybe you tried your hand at pollinating some of your iris or maybe the bees went to work.  Either way, your iris flowers have faded away and there’s seedpods in the making. Like a proud parent, you’re admiring the pods and imagining growing the seeds into beautiful new plants.
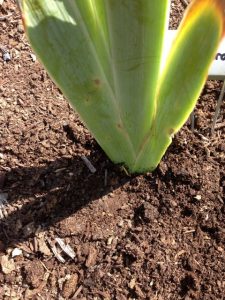
iris stem set into the ground
Oh no!  You see a broken off stalk.  Compost.  Goodbye dreams of spectacular flowers. Worry not, here’s what you can do to save the day and let the pods continue on to maturity.

Trim the bottom off the stalk and insert firmly about 2-3 inches deep into the soil.  You’re done!  Really!  Watch the pods mature and collect the seeds once the pods have ripened.

Iris Seedpod

Developing Iris Seedpod

How to divide and plant Iris

The first thing you should know about dividing iris is that iris are tough. Most iris can withstand an amazing amount of neglect and rough handling. This is not to say you should abuse your iris, but you also don’t need to worry too much when you are working with them.

Most planting guides recommend that you divide iris about 3-4 weeks after they have finished blooming. There’s a high likelihood that they will not bloom the year after you divide and transplant them. They are just settling into their new home; you didn’t kill them!

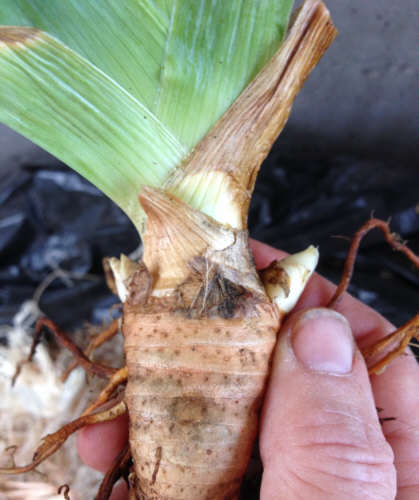
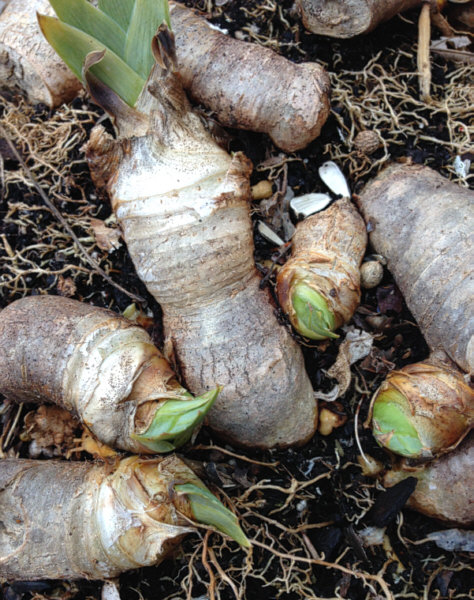
Iris grow from rhizomes (the solid part between the leaves and the roots) . Each iris rhizome will bloom only once – and this rhizome is largest right after the flowers are done blooming. When your iris are getting crowded, you can often see the rhizomes, sticking out of the ground a little. The fact tIris plant after bloominghe rhizomes are so shallow makes them really easy to dig up. The easiest way is to use a fork — simply insert the fork near the edge of the rhizome and wiggle it around a little and it will pop up easily.
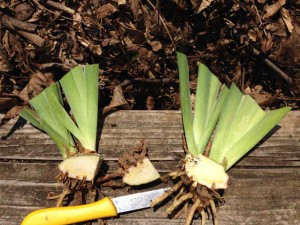
Brush the dirt off so you can see the rhizome and have an idea of what you are working with. Some guides suggest that you’ll need to get out the hose and thoroughly clean the rhizome. There’s no harm in doing that, but it won’t make a bit of difference if you skip this step.
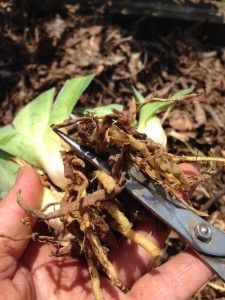
trimming iris rootsTrim back the leaves to about 3 inches.  You can cut them into any shape you want, straight across or fans, even zigzag! Then trim all the roots to about an inch long below the rhizome and

Cut or break off your baby iris rhizomes from the center ‘mother’.  If there are no new babies on the mother yet, plant the mother.
Most likely there will be many more iris then you have space in the old location, either plant them in a new spot or share the extras with your friends and neighbors. Baby iris ready to plant
To plant, insert your rhizomes up to its neck into the ground and water them in. You should not be able to see any part of the rhizome sticking up.
I know you’ve heard that the rhizomes should be above the ground and ‘be kissed by the sun’.  If you plant them too high, they are much more likely to #1 fall over and uprooted on the new roots they are developing and #2 dry out and die.  Pretty much all iris nurseries and hybridizers from Canada to Australia plant their iris ‘to the neck’.

Newly planted iris

Newly planted iris


How to pollinate an Iris

Plant Sex.

Now that I have your attention, this post is all about taking a little pollen from one plant and dabbing it on the receiving part of another in the hopes of creating a unique new plant.

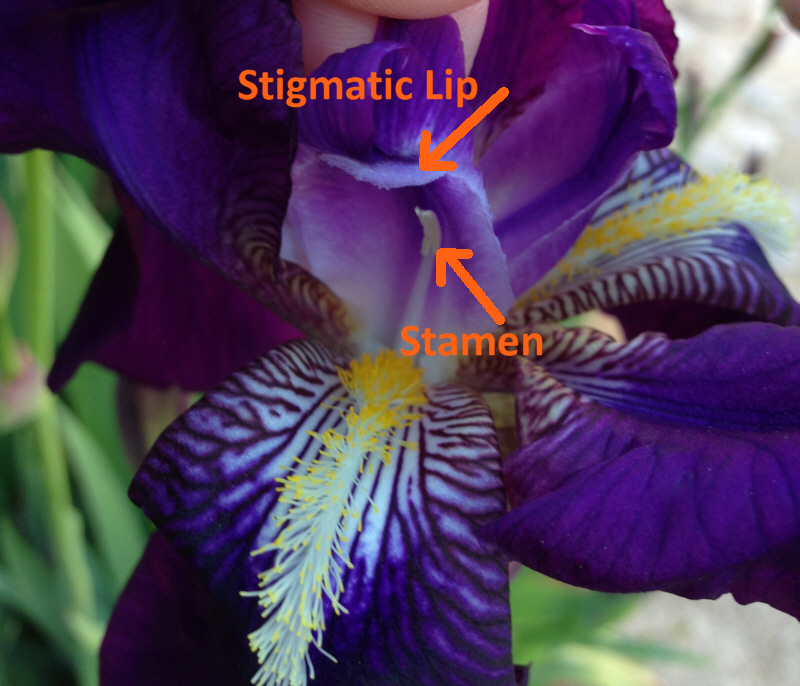
It’s essential to be able to identify the reproductive parts of a plant, and for an iris that’s not so easy.  Here’s your road map to get started. Find the beards. They look fluffy and inviting. Think of them as the red carpet, leading towards the door #1, the stamen and door #2, the stigmatic lip.  Those two structures are the necessary ones for the iris mating dance.

If you like to try your hand at hybridizing this spring, it’s easy.  Remove the stamen from one variety and rub it into or onto the stigmatic lip of another.  Wait  for about 3 days, if your efforts were successful, the base of the flower will start swelling and growing, eventually forming a fat, oval shaped balloon. Should your stalk break off the plant, don’t worry, just stick the stem into the ground and your pod will continue to mature! It will take about 6-7 weeks for the seeds to be ready for harvesting.

reproductive parts of an iris


Is a Bigger Iris a Better Iris?

Size and  of iris rhizomes and length/quantity roots has nothing to do with ability of the plant to bloom, it’s more a function of different varieties and time of year and overall growing conditions. East coast and mountain grown rhizomes are generally smaller overall then west coast rhizomes. Oh Lord. look at my dirty nails. I seem to sport gardeners manicure near every day that I am out in the garden!!!   I hate wearing gloves.

Iris rhizomeThis picture shows a rhizome of blooming size in early spring.  Note, it’s only about the size of my thumb (I have smallish hands). How do you know it’s blooming size?  There’s 2 ways to tell.  One is to count the fan leaves, include leaf scars when counting. Most varieties will need 7-13 leaves for bloom.  The other indicator of maturity is the presence of baby shoots or nubs near the top.
So to answer the question “Is bigger better” I have to offer a strong “no”.

Iris – When to Plant or not to Plant

The answer is……  it depends on where you live and whether you want to have flowers the first season after planting.

Generally, iris can be dug, divided and planted all year. Many people plant them in late summer and fall.  At that time single rhizomes are the largest and the weather in most parts of the country is very suitable for the plants to settle in.  Minimal intervention from gardeners is needed as fall brings plenty of rain and cooler temperatures.

In my garden, I divide and move them when I get around to it.  The main disadvantage in planting too late in the spring is a delayed bloom time and first blooms may not look their best. Iris blooms not quite their best, however,  still look awesome!

Spaceage Iris Bloom

My space-age iris seedling in bloom

Iris plants after a hard freeze in USDA Zone 7

Have you taken a walk in your garden lately?

This winter has brought us quite a few ‘firsts’ in our garden.  For those readers living in the northern states, plants that are hard dormant are a fact of life.  For us, however, this January was the first time in 20+ years that I have seen hard dormancy in many plant species in our USDA Zone 7 garden.
It’s a scary sight to unaccustomed eyes. On a warmish day, one may be quite tempted to pull back leaf cover and maybe even dig a little.  Just a little, to check if plants are still there. Trust me, they are.  Give them a little time and they will pop right back up and will thank you if you have not disturbed their roots.  But even if you did dig a little, they will most likely pop right back up as soon as the sun comes out.

I couldn’t resist and dug a little in one of my beds.  ALL the greenery had completely frozen and disappeared from these iris plants in January – look, they are peeking back out already.

Iris plants after hard freeze

Happy New Years! Winners from our Garden

I had some ideas for a post yesterday, unfortunately, something went wrong with WordPress and I was unable to log in and write. So you’d think, I’ll just write it today.

I am learning that that isn’t quite the way it works as my ideas from yesterday have poofed into thin air while I slept. Maybe you can relate to this experience and maybe not. But I used to be able to remember EVERYTHING, yes SIREE! I do remember I was planning to write about the Winners in my garden in 2013. The plants that just stood out and gave my garden that special oomph and brought a smile to my face when I walked out with my morning coffee. I posted pictures of some of them on facebook over the last few days and I am proud to say that I figured out how to insert the pictures into this post!

Happy 2014 to you and yours – may health and happiness find you and may your garden be all that you hope for with few weeds that can easily be pulled!

[fgallery id=2 w=600 h=500t=0 title=”Winners in our Garden”]