Forgetfulness in the Garden

As soon as it was warm enough, I was out in the garden digging around. I had a few hardy perennial seeds to put out, and decided last year to consolidate two or three beds into one big one so still had a few things to move. There was also a tall, floppy sedum that

the consequences of bad (read: no) garden planning

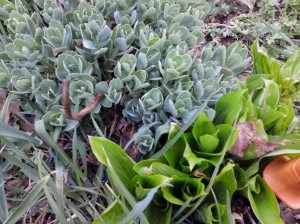
The sedum ended up on top of a hosta. Now I’ll spend the summer seeing which one dominates.

needed to go from the center of the garden to the outskirts.

Anyway, there was almost immediately a problem: not everything was up and I had exactly zero markers. Deciding to rely on memory alone (yes, yes, laugh if you must), I planted some asparagus, moved the sedum, scattered some rudbeckia seeds, built a grape arbor, and moved some raspberry plants.

When it became obvious that markers are a necessity in my garden, I started researching different ways to make them (because of course I don’t want to buy them — that would be money that could be spent on plants!) There are some great ideas out there, and I just happened to have a bag of old silverware.

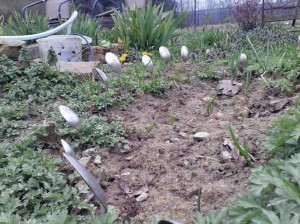
Flattening spoons and stamping names of plants on them seemed like a lot of work, so I decided to just stick them utensils in the ground next to the plants as they came up. Forks marked the hostas, for example. Immediately, my husband started listing off all the reasons this was a terrible idea (mostly he thought the dogs would pull the silverware up and scatter it all over the yard and make mowing hazardous). I ignored him and proceeded to plant spoons and forks all over the garden.

A couple of hours later, I was walking around, staring at the ground, looking for anything new popping up (I spend hours doing this every spring), and noticed that a fork was missing. The inevitable “I told you so!” was not long in coming…but then I found the fork — buried all the way in the ground. Someone had stepped on it!

Clearly ONE piece of flatware would not do the trick. The next week I planted a small

Spoon markers

Spoon markers

patch of onions, and used spoons to outline it.

While this works great for the onions, it’s not really practical for each hosta, coneflower, peony, and other perennial in my garden. The search for effective, attractive, and free markers continues!

Belle’s suggestions:
Try knives and write on them with a paint pen or a bit less attractive but  functional: plastic slats from window blinds and write on them with nail polish pens.


Do-it-Yourself Felted Flowers

I love flowers, in the garden and as decorations on some my knitted projects.  I always get lots of looks, comments, and questions when I wear my flower cowl. I admit, it’s rather unusualFlower Cowl with randomly felted flowers sprouting between the stitches.
So here’s how they are done.  You’ll need:
1. large size crochet hook
2. 100% wool yarn (not superwash) in colors you like
3. a bowl, hot water and a little soap
4. another bowl with ice cubes

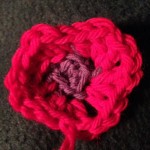
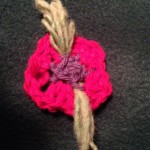
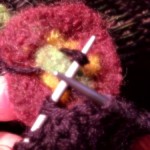
Crochet loose circles. Use one color yarn for the flower center, another for the petals. Mix and match stitches as you like when you go around in circles to create a flat flower, about 1.5 to 2 inches in diameter.  Take some loose threads and weave them through the flowers.  You will end up with something looking similar like this:

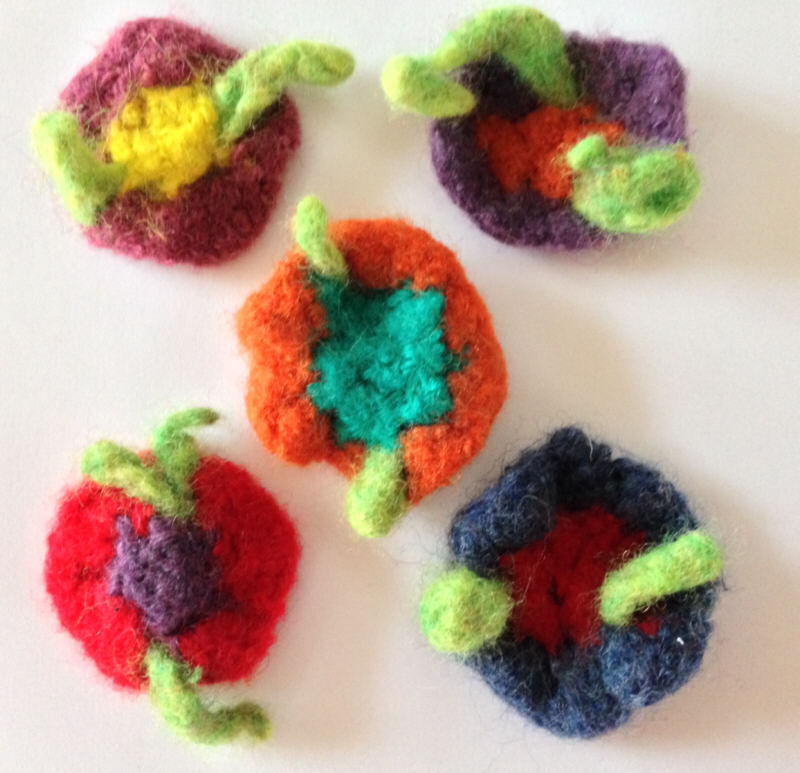
Now comes the fun part!  Put a squirt of dish detergent into the first bowl and add hot water from the tap.  Immerse the flowers and stir them around.  OMG – they are expanding.  Don’t worry.   Get your second bowl ready with ice cubes and a little cold water.  Pick up a flower and roll it in your palm, hard, into a little ball, toss it back into the hot water.  Repeat with all your flowers until they have shrunk and felted to the size you like.  Toss into the ice water and swirl around.  They are a bit big still? Repeat the hot water, rolling in your hands, followed by a dip in the ice water treatment.  Don’t worry, you won’t hurt them.  Roll them hard!  Once you’re happy with the flowers, set them out to dry.

Felted Flowers

Attaching the felted flower

You may like to sew them on as a finish, however, I like to knit
them in as I go.  I use a crochet hook to pull a loop of the working yarn through the back and then knit that loop loosely together with the next stitch on my needle.

Knitted Crocodile Stitch Boot Toppers

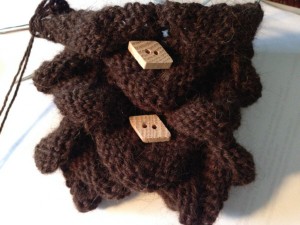
A friend posted a picture of crocheted crocodile stitch boot toppers in one of my groups and I was immediately in love!  But…but…but… I hate crochet.  After looking at hundreds of knitting stitches and patterns, it was clear:  There is no pattern available for a knitted crocodile stitch.  I had to make up my own pattern.

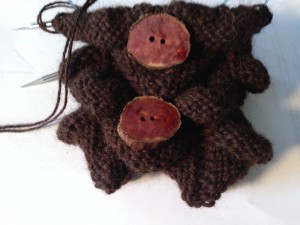
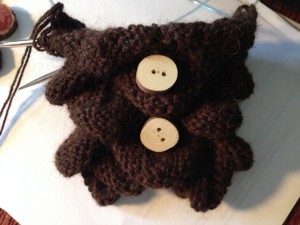
After some trial and error,  the first boot topper is nearing completion and I need some help in picking which of these buttons I should use. All buttons were crafted by my  hubby Jeff.

#1:  large round wooden button made from juniper wood
Juniper Wood Buttons#2  smaller round wooden button made from crepe myrtle wood
Crepe Myrtle Wood Buttons#3  diamond shape wooden button made from oak wood
Oak Wood Buttons


The Unmentionables

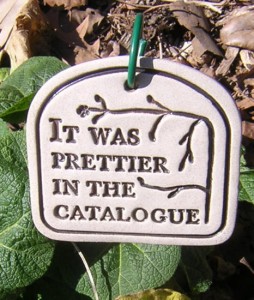
Garden SignNo matter how much I would like for the plants to look like their pictures, there’s always some with a mind of their own.

Let’s just get right down to one of the unmentionables.  Floppy plants.

How does one deal with it? One choice is to select varieties that behave, the other:
Plant cages and stakes, of course. How many plants are propped up in your garden?  If your garden is like ours, then most of the peonies have some form of support. So do some of the other perennials and, certainly, no respectable size tomato plant will be without a cage! There’s never enough supports around and eventually we just grab a stick, any stick and some rope to keep the unruly plants at bay.

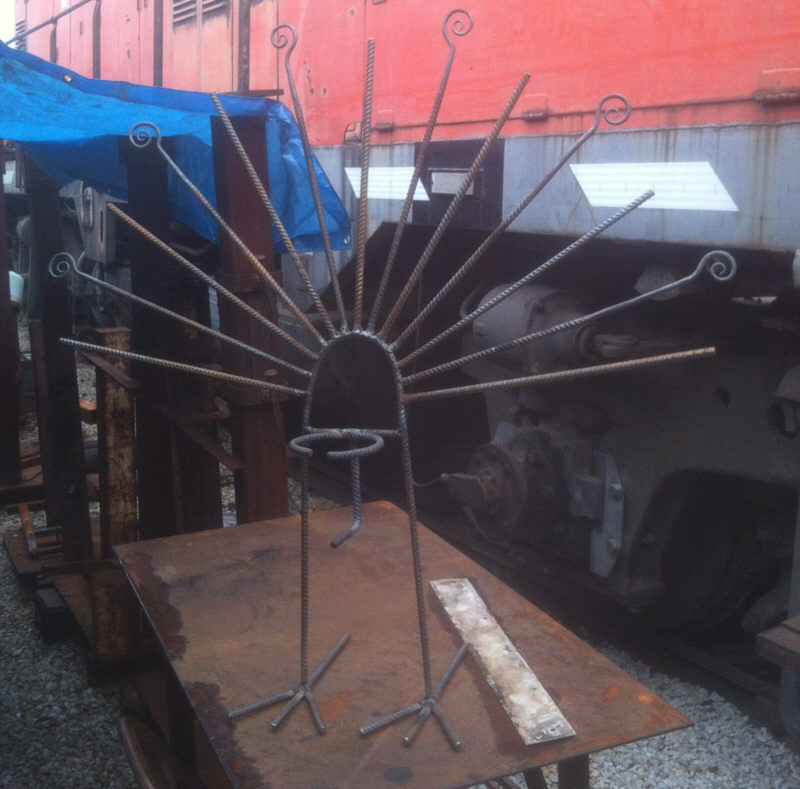
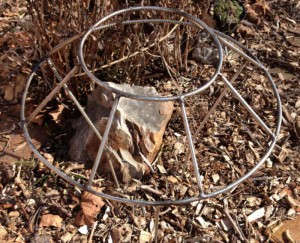
If you’ve been down to the butterfly garden by the Tennessee Aquarium, you may have noticed the decorative plant supports designed and forged by Jeff. Surely, something along those lines on a little smaller scale could be a good fit for our humongous clump of Sedum Floppy Autumn Storm. So Jeff put his mind and arms to work. Last Friday, the UFO landed.  It’s perfectly sized and I love it.
And, it’s beautiful, don’t you agree?
Steel plant support

Merry Christmas – Shawl Pins

I have been thinking about blogging for a while.  Years actually.  I decided that today was going to be the day to begin.

You may want to know what was so special about today.  Let me tell you.

My husband and I have a passion for many things.  Gardening, knitting, blacksmithing, travel, long distance walking, and and and…..the list goes on and on.  Our china is mismatched and our stuff can kindly be called ‘eclectic’.  On the bright side, you could say that we specialize in collecting diverse experiences.
After careers in healthcare and education, our interest in gardening led us to opening a backyard nursery and creating an online store.
So what was so special about today?  On Christmas eve, we gifted one another with handcrafted joy and I want to share my delight.

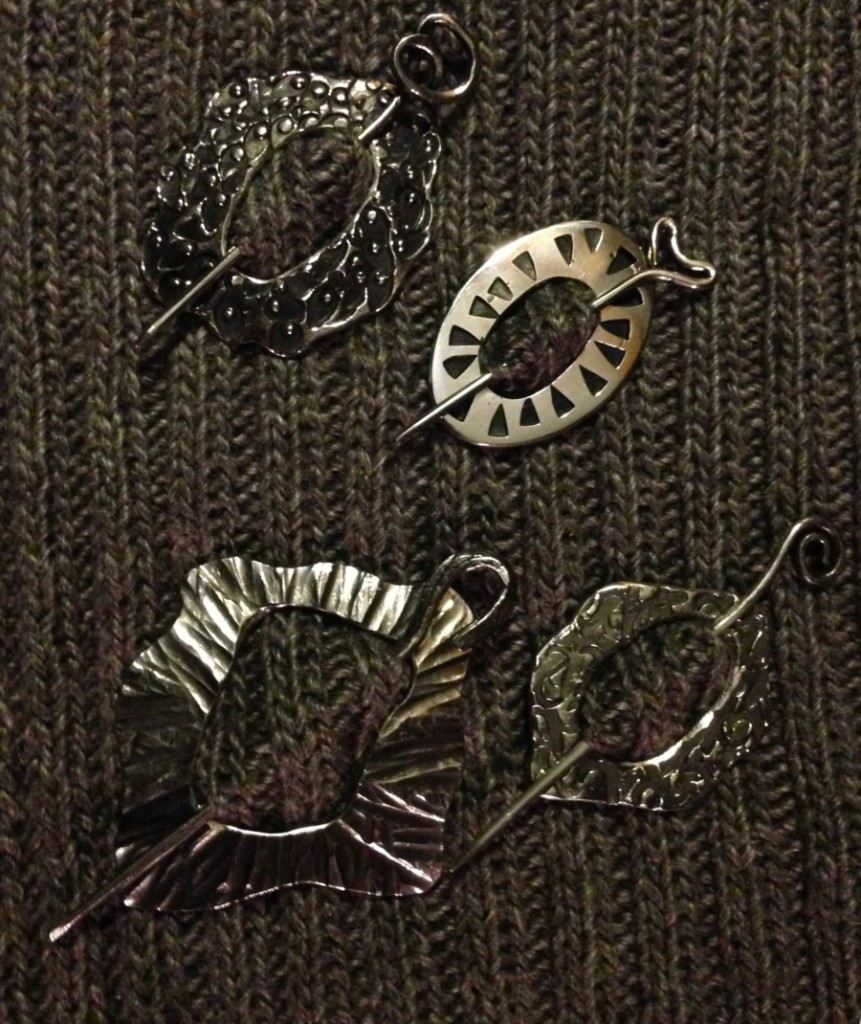
I gave Jeff socks that i knitted and he gave me a set of 4 shawl pins that he had made for me.  These pins he had designed himself and made from stainless steel by hammering and shaping in a blacksmith forge.
They are awesome, see for yourself:
Stainless Steel Scarf Pins