Herbs add color, fragrance, and texture to the garden — not to mention flavor and variety to the kitchen. Many are perennials and few require special care. In my time as a haphazard gardener, I’ve grown herbs almost every year. Lots of them have died, due to neglect and/or ignorance, but I have finally hit on a method that works for me. Growing herbs from seed is the most economical way to go, but if you find seeds challenging you might be reluctant. Maybe my method will work for you, too.
Rosemary is probably my favorite herb, but thyme, oregano, sage, tarragon, cilantro, basil, and parsley are also usually in my beds somewhere. The viciously cold weather last winter seems to have killed my rosemary, so I’ll be starting a new one this year.

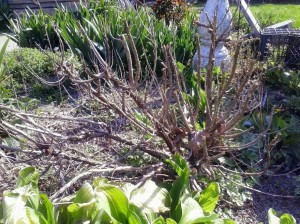
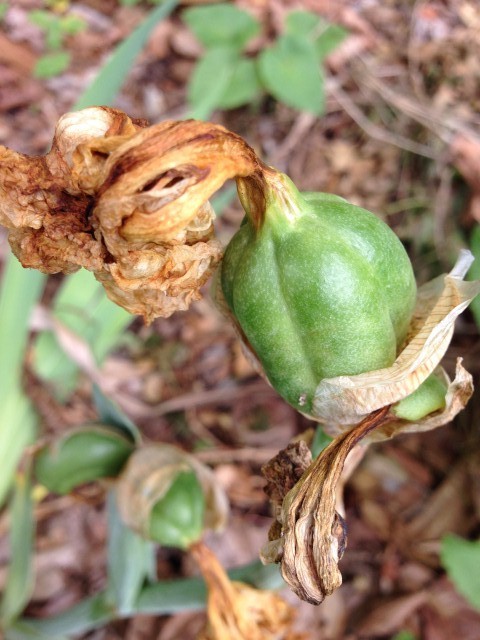
Last summer.
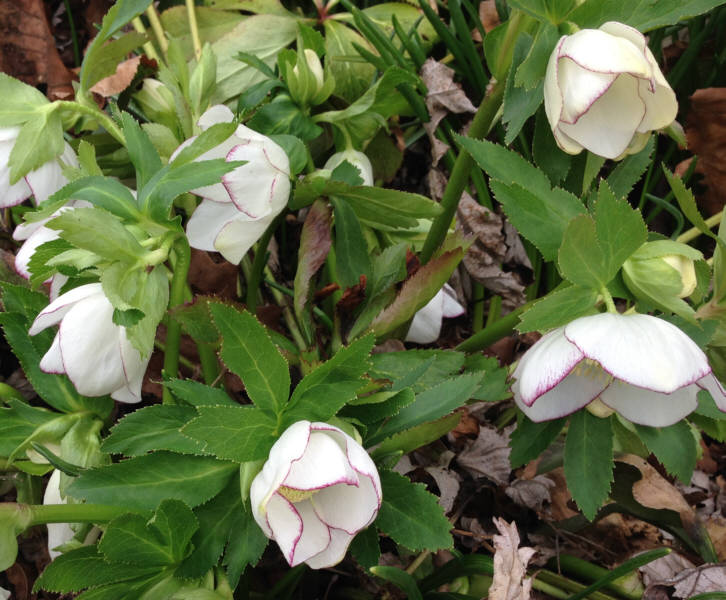
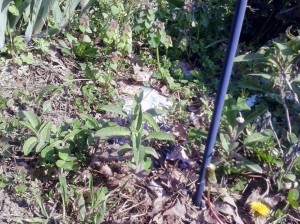
This spring.
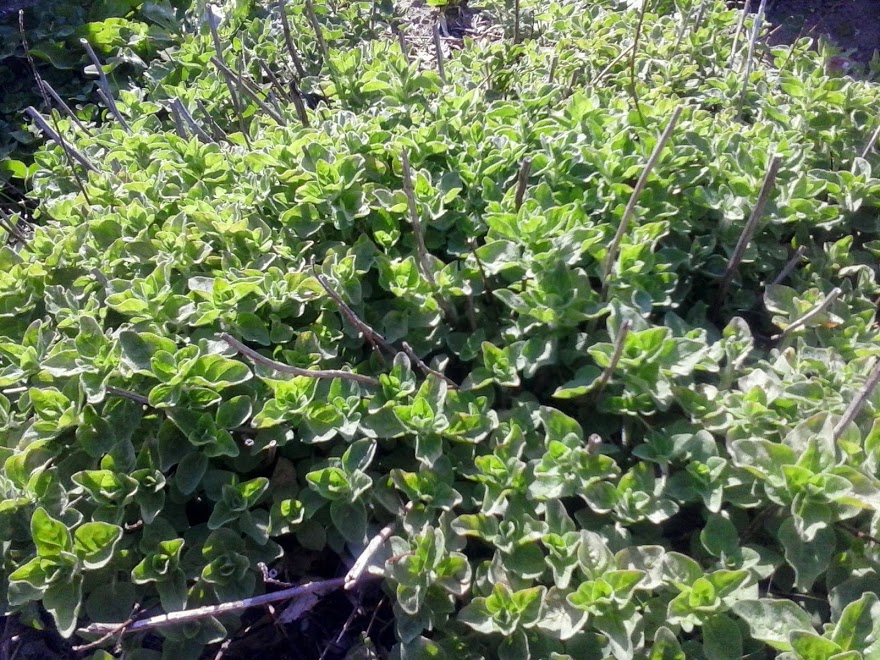
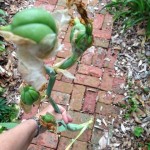
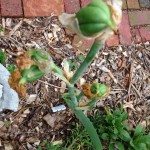
The oregano did just fine.

So did the sage, which was surprising because last year was its first year in the ground. I thought it would still be tender.
I tried, unsuccessfully, to grow rosemary from seed for a number of years. It would usually germinate just fine, then whither away. The plant that died last year was about four feet tall and absolutely luscious. I would touch it every time I walked by to enjoy its piney scent. The trick for me was to keep it in a pot for a few years.
That has turned out to be the best way for me to grow a number of perennial herbs — get them started in a pot, and bring the pot in over the winter for 2-3 years. Then, when it is firmly established, it seems to do better planted in the ground.
The method I use will probably never be endorsed by any expert, but it has consistently worked:
- Fill a pot (any pot with drainage) with potting soil.
- Sprinkle some seeds around.
- Put the pot outside.
- Keep the soil just damp.
- Start picking leaves off to use for cooking as soon as there are leaves to pick.
- Bring the pot in for the winter.
- After 2-3 winters, transplant to the garden.
Of course, some herbs, like basil and parsley work better as annuals, and I just plant new seeds each year for them. Others, like mint and chamomile can be invasive. I don’t mind if they start spreading, but you may prefer to keep them in containers rather than transplanting them into your garden.
Growing herbs from seed is inexpensive, and can have big rewards. It’s certainly worth trying if you haven’t.
 he rhizomes are so shallow makes them really easy to dig up. The easiest way is to use a fork — simply insert the fork near the edge of the rhizome and wiggle it around a little and it will pop up easily.
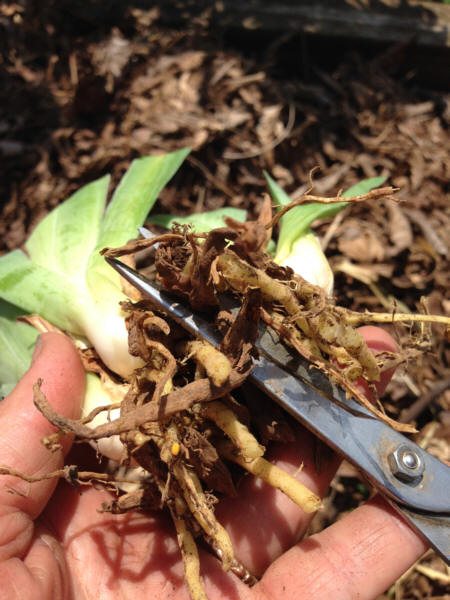


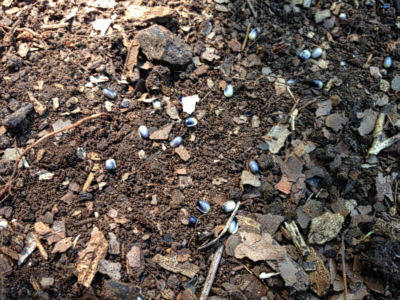
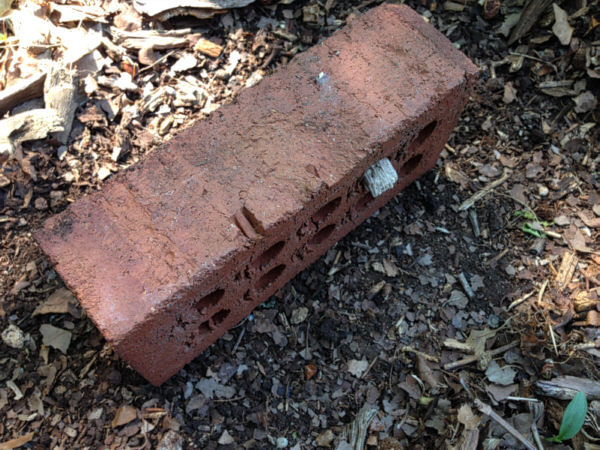
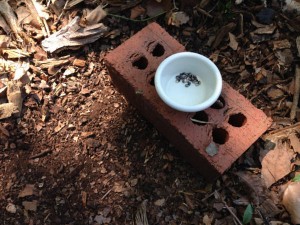 You will need one brick for every 15 to 20 seeds. Collect the seeds when they are ripe and fresh, usually sometime in May for most locations. Plant your seeds as es soon as possible after purchasing or collecting, you’ll want them in the ground by the end of June at the latest. Select your new planting spot. Just rough up the soil a little and sprinkle your seeds. Top them with the flat side of your brick. You’re done!