Valentine’s Plantable Seed Paper Hearts DIY

I saw the video on how to make your own seed paper hearts on facebook and just had to try it out right away.
cover food processor with a towel
Once i dug through the baking closet to find my heart shape cookie cutters and through the paper closet for red paper, I was on my way.  Fast forward and here is my tutorial so that you won’t have to clean up your cabinets and kitchen like i did (or maybe your blender/food processor seals better!)

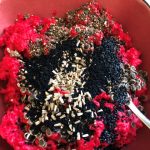
seeds added to paper mushUse 1 cup of paper pieces to 1 cup of warm water, let sit for a minute or two inside food processor.  Then cover food processor with towel and pulse until there is mush.
Add about a teaspoon each of 4-5 different types of seeds and blend them into the mush, I used a fork.  A smaller amount Creating the heartof seeds will go a long way, I was way too generous with my first batch.

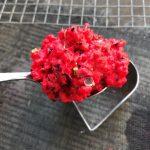
Use a screen or a piece of cheesecloth as base, add a tablespoon of mush, then press down firmly.  Wait about 30 seconds or so and pull up the cookie cutter.

Paper Seed Heart

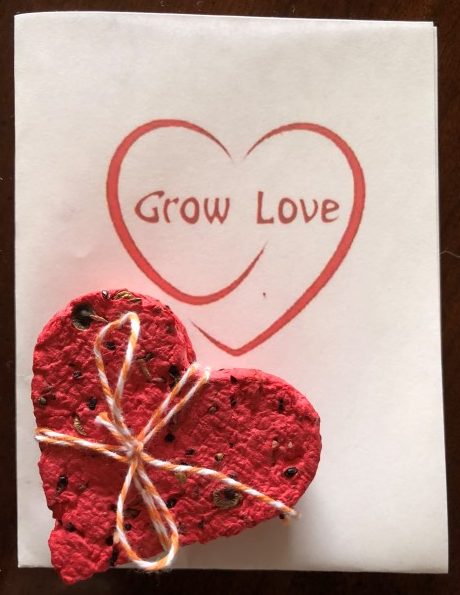
Let dry naturally for about 12 hours and the paper hearts are ready. Glue to cards and/or attach to chopsticks and insert into a plant.

Click here for my printable pdf gift card #1. I sometimes run a glue stick around the edge of the printed heart and sprinkle a little glitter on the gold colored background. Click here to download card #2, same inside.

foldable card

Card #1

foldable instruction sheet

Card #2

Growing Daylilies from Seeds

Are the pods ripe? If it’s been about 7-8 weeks since fertilization and the pods are beginning to turn brown or open up at the tips, the seeds are ready to be harvested.

Collect the seeds and soak them in warm water overnight. The next day, put them in a zip-lock type bag and place the bag in the crisper drawer of your refrigerator.  Daylily seeds require a minimum of 4 weeks cold stratification before they will sprout.  Important: Label your bag prominently so your harvest won’t accidentally end up on your dinner plate.

daylily seeds

daylily seeds

When you are ready to plant the seeds, remove the bag from cold storage.  Check first.  Have the seeds already started to sprout?  If yes, you can go ahead and plant them.  if no, add some water to the bag and leave out in a dark and warm location. For the next week, check daily to see if seeds are starting to germinate.  If there are no white feet popping out, put the bag back into the crisper for a week as the cold period needs to be extended a bit more.

It’s time to plant, what to do?
Plop seeds into pots filled with potting mix and place in a warm and sunny location.  How deep to plant?  Some sources recommend covering with about an inch of potting mix, others suggest they will do fine gently pushed on top of the mix as long as they are kept moist.  I either bury them or cover the pot loosely with piece of plastic kitchen wrap because I tend to forget to mist them as frequently as they like.
Watch for green leaves and once the plants are about 5-6 inches tall they can be planted out in your garden. Soon, you’ll have completely new daylily varieties – that may or may not look anything like their parents – growing in your garden.

Making a Daylily Cross

Daylilies are some of the most beautiful and carefree plants in the garden.  They come in many colors, sizes and patterns.  They withstand heat and drought.  They are even edible!
They are plants that do not come true from seed. This means every seed produces a new and unique plant that may or may not look anything like its parent.
And that’s where the fun starts.  How about trying your hand at hybridizing this year?  It’s quite easy and you never know what you might get.  The 3 most common crossing types are:
1. pretty on pretty – pick two varieties in your garden that you really like
2. trait on trait – flower shape, height, number of blooms – your choice
3. intentional – using plant genetic and science to attempt to bring out desirable attributes

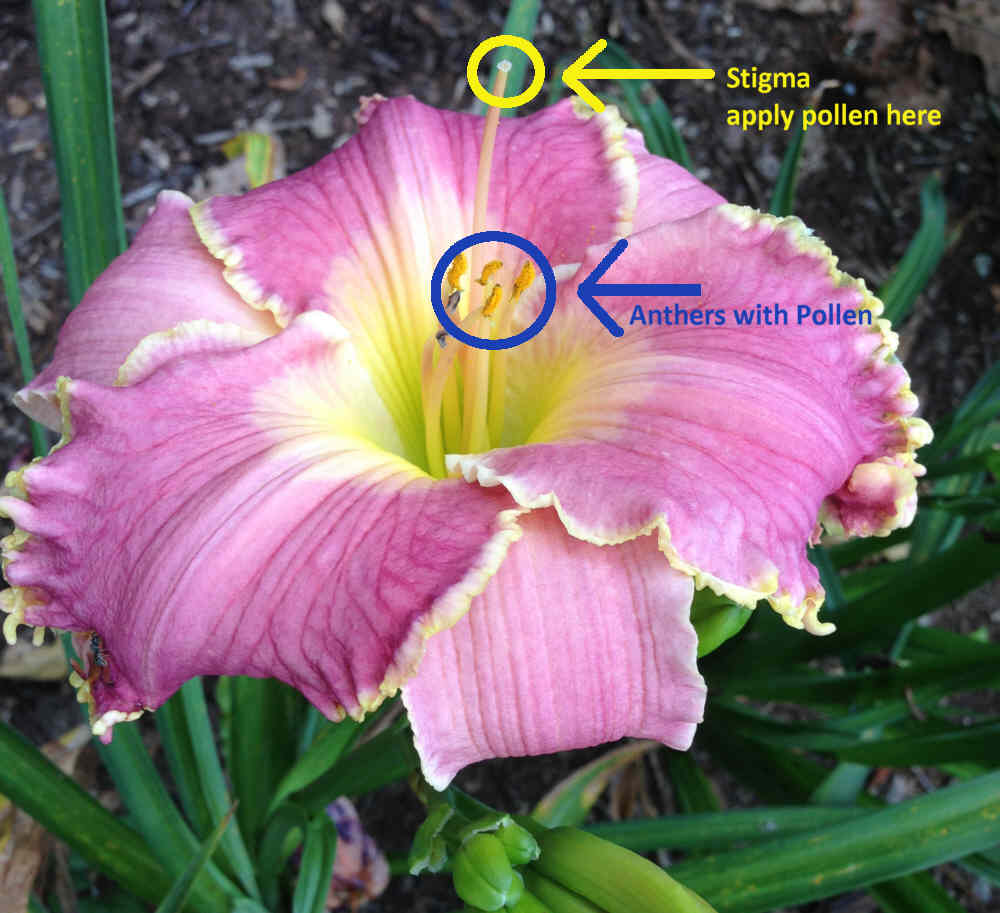
Daylily flower with anther and stigma labeled

How to find the Anther and Stigma on a Daylily

Making a cross is quite simple, take the pollen from one variety and apply it to the stigma of another.  Then wait and see if the mating was successful.  If yes, there will be a pod developing at the base of the flower.  Daylily pregnancy takes about 50 days from fertilization until seeds are ripe and ready for harvesting.

Iris Seedpod First Aid

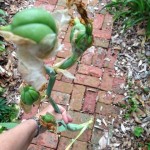
broken iris stem with seedpod

Maybe you tried your hand at pollinating some of your iris or maybe the bees went to work.  Either way, your iris flowers have faded away and there’s seedpods in the making. Like a proud parent, you’re admiring the pods and imagining growing the seeds into beautiful new plants.
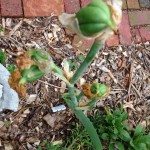
iris stem set into the ground
Oh no!  You see a broken off stalk.  Compost.  Goodbye dreams of spectacular flowers. Worry not, here’s what you can do to save the day and let the pods continue on to maturity.

Trim the bottom off the stalk and insert firmly about 2-3 inches deep into the soil.  You’re done!  Really!  Watch the pods mature and collect the seeds once the pods have ripened.

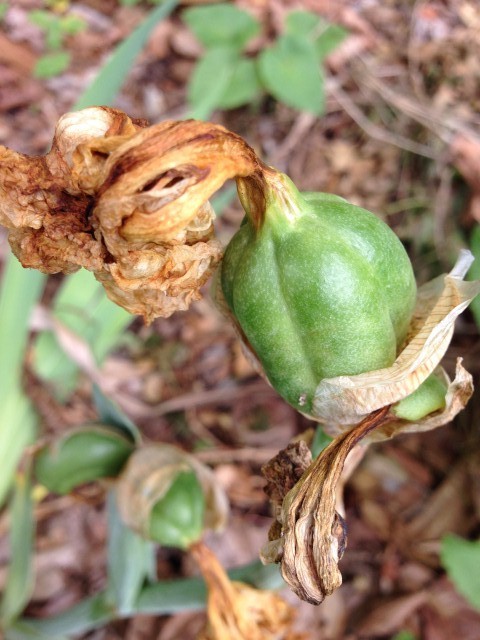
Iris Seedpod

Developing Iris Seedpod

Success with Helleborus Seeds

If you look underneath your big plant and see all the volunteer babies, you’d think it would be quite easy to collect the seeds and plant them in a container or a new location and end up with lots of new plants shortly.  It’s not quite that simple but it’s also not as difficult to get the seeds to sprout as some people will have you believe.

The challenge lies in giving the seeds just the ‘right’ environment as they require stratification. There’s lots of info about so many weeks of warm, moist and so long in cold, moist to induce germination.  You can get as scientific about the process as you like.  But I like EASY.  So here’s my EASY method for sprouting hellebore seeds.

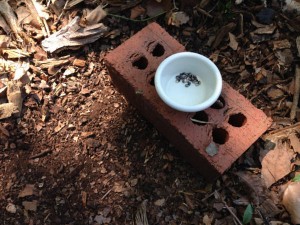
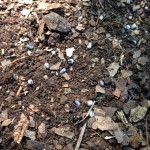
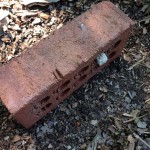
Brick and helleborus seedsYou will need one brick for every 15 to 20 seeds. Collect the seeds when they are ripe and fresh, usually sometime in May for most locations. Plant your seeds as es soon as possible after purchasing or collecting, you’ll want them in the ground by the end of June at the latest. Select your new planting spot. Just rough up the soil a little and sprinkle your seeds.  Top them with the flat side of your brick.  You’re done!
helleborus seeds in soil
The brick will hold the seeds in place, provide just the proper environment both moisture and temperature wise to allow your seeds to do their thing.  In warmer climates without snow cover, lift-off the brick in mid-January of the year following planting.  brick on top of helleborus seedsYou may have tiny little seedlings that are flat like pancakes, don’t worry, they’ll straighten right up.  In colder areas with snow cover, whenever your snow has melted, lift the brick once a week and check for seedlings. As soon as you see babies, remove the brick.

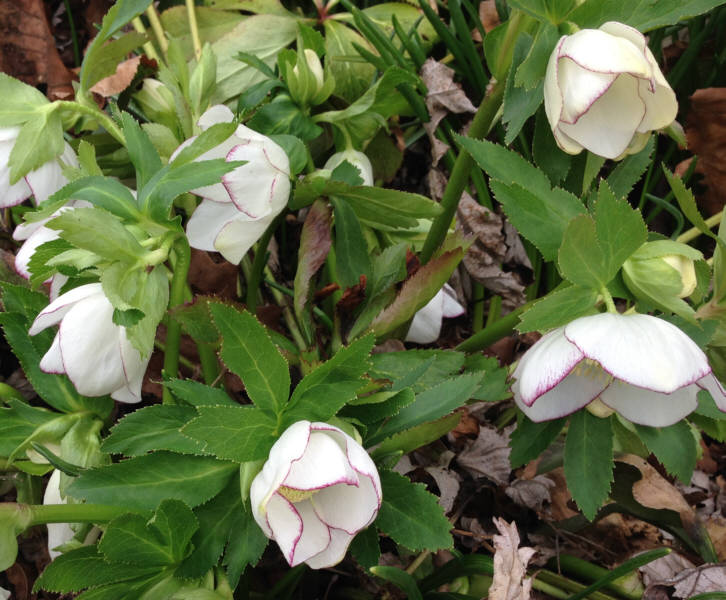
It will take about 3-4 years before your new babies will be large enough to bloom and each baby will be a new plant that may or may not resemble its parent.  Here’s a picture of one of my seedlings that I really like a lot:

My burgundy  rim helleborus seedling

My burgundy rim helleborus seedling

Starting Herb Seeds

Herbs add color, fragrance, and texture to the garden — not to mention flavor and variety to the kitchen. Many are perennials and few require special care.  In my time as a haphazard gardener, I’ve grown herbs almost every year. Lots of them have died, due to neglect and/or ignorance, but I have finally hit on a method that works for me. Growing herbs from seed is the most economical way to go, but if you find seeds challenging you might be reluctant. Maybe my method will work for you, too.

Rosemary is probably my favorite herb, but thyme, oregano, sage, tarragon, cilantro, basil, and parsley are also usually in my beds somewhere. The viciously cold weather last winter seems to have killed my rosemary, so I’ll be starting a new one this year.

Last summer.

Last summer.


This spring.

This spring.

The oregano did just fine.

IMG_20140421_101013

So did the sage, which was surprising because last year was its first year in the ground. I thought it would still be tender.

IMG_20140421_101041

I tried, unsuccessfully, to grow rosemary from seed for a number of years. It would usually germinate just fine, then whither away. The plant that died last year was about four feet tall and absolutely luscious. I would touch it every time I walked by to enjoy its piney scent. The trick for me was to keep it in a pot for a few years.

That has turned out to be the best way for me to grow a number of perennial herbs — get them started in a pot, and bring the pot in over the winter for 2-3 years. Then, when it is firmly established, it seems to do better planted in the ground.

The method I use will probably never be endorsed by any expert, but it has consistently worked:

  1. Fill a pot (any pot with drainage) with potting soil.
  2. Sprinkle some seeds around.
  3. Put the pot outside.
  4. Keep the soil just damp.
  5. Start picking leaves off to use for cooking as soon as there are leaves to pick.
  6. Bring the pot in for the winter.
  7. After 2-3 winters, transplant to the garden.

Of course, some herbs, like basil and parsley work better as annuals, and I just plant new seeds each year for them. Others, like mint and chamomile can be invasive. I don’t mind if they start spreading, but you may prefer to keep them in containers rather than transplanting them into your garden.

Growing herbs from seed is inexpensive, and can have big rewards. It’s certainly worth trying if you haven’t.


It’s Just Chives Talking

First, I must make an admission: I don’t have cats. I have birds and dogs and fish, so adding a cat to the mix would be…chaotic. Or, perhaps I should say, even more chaotic. Even though I don’t have cats myself, several friends do so I know about the difficulties cat owners face when trying to start seeds indoors.
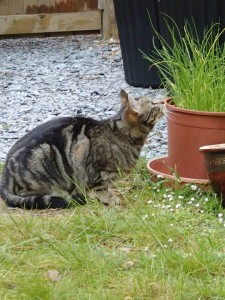
cat smelling a pot of seedlings

Sparky checking out the seedlings

There are several ways to deter your cat from digging around in your seed trays, or eating your plants after they sprout. One of the most obvious is to enclose your seed trays or planting medium. There are miniature greenhouse-type seed trays available for purchase — the kind with a domed lid that snaps on and off. You can also recycle things like plastic cake trays and other disposable food containers that come with a clear plastic lid.

The problem with the domed lid approach is that, eventually, your seedlings will need to be uncovered — at just the time the tiny plants will look like a most tender salad to your cat! What do you do then?

Many people use old aquariums. You can put the aquarium in a sunny spot and put a screen over the top. Your plants will get the light they need, air circulation, and the screen is easy to remove when you need to add water.

Reading various forum threads, I came across one creative cat owner who uses a baker’s rack and a mattress bag to start her seeds. When a mattress is delivered, it comes wrapped in a big, clear, plastic bag. Put the seeds on trays on the baker’s rack in front of a window, put the mattress bag over the whole rack, then use binder clips to pull the bag taut and secure it.  A small fan can be rotated from shelf to shelf and turned on for a couple of hours each day to provide necessary air circulation.

Other creative enclosure methods include using cages — such rabbit or small bird cages, building shelves, using chicken wire, or putting your seed trays in a room with a door and closing the kitties out (although this could well lead to pitiful meowing for a few days).

If an enclosure simply will not work in your situation, you might try deterring your feline with scent. Citrus peelings are supposed to be off-putting for cats, though you will need to change them often so the smell will always be strong. There is also a commercially available spray called Ssscat Spray.

Another tactic is to make the seed starting set-up unattractive to cats. For instance, cats don’t like to walk on anything that feels unstable, so putting marbles, rocks, or seashells in areas where the cat would have to walk may convince them to back off. Usually, this is a good way to keep cats out of larger, well-established houseplants.

The retail product Scat Mat serves the same basic purpose, emitting a harmless, low-power pulse when touched. Some people use bamboo skewers or toothpicks to create a barrier. Simply push a toothpick in next to each seed so that it sticks up out of the soil like a spike. Cats don’t like to walk on spikes!

One word of caution: some people suggest using pepper or pepper spray to keep cats away. However, if the pepper gets on a paw, then the cat licks the paw and rubs its eye…well, you can imagine how pepper in your eye would feel. Stick with a squirt of air or water, please 🙂

 

Growing Citrus Trees from Seeds

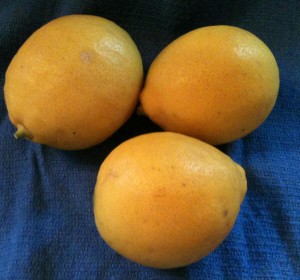
Meyer LemonsMy mother-in-law sent some Kumquats (C. japonica) and Meyer Lemons (C. × meyeri) fresh from her garden.  They were beyond delicious!

You are probable familiar with Meyer lemons, their sweeter, less acidic flavor is a favorite for lemon cakes and fresh squeezed lemonade. Kumquats, on the other hand, may be a type of fruit that you have passed up.  Bitter centers and huge seeds!  Yuck! NOT!

Kumquat fruit may look like a mini orange but unlike oranges, when eaten raw, one eats the peel and outer flesh only.  The whole fruit can be eaten cooked and is mainly used to make marmalades and jellies.lemon2

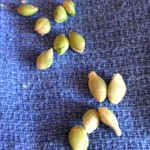
Best of all, both of these delicious fruits can be grown from their seeds.  It’s easy peasy as one of my friends likes to say. The most important (and tedious) part is removing the fibrous coat from the seeds. I use a sharp knife to peel away the white coat and end up with the naked seeds (top).

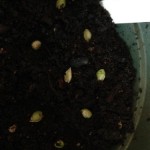
All that’s Citrus Seeds in Potleft to do is pucitrus seeds in pot covered with plastic bagt them in a pot and cover with a plastic bag.  The bag holds in moisture and has to be removed once the seeds start to sprout.

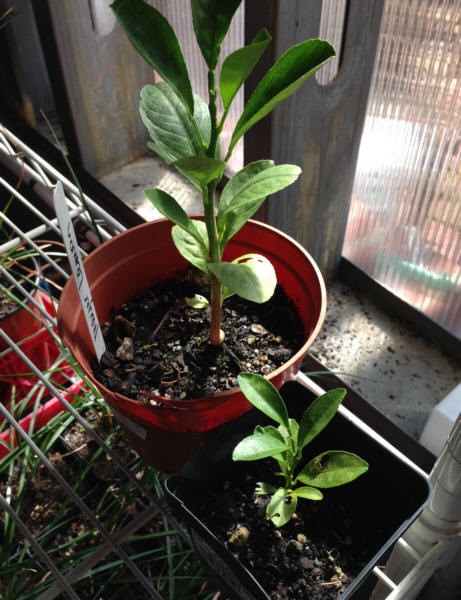
It will take about 6 weeks in 65+ degree temperatures until sprouts appear.  Once there are a couple of leaves, I transplant my future citrus trees into small pots (3-4 inch size, front) after about 6 months, the seedlings are ready to move along into a quart size pot (back) and, hopefully, in about 3-4 years time, fresh Kumquats and Meyer lemons will be ready for harvest.

Citrus Trees

Citrus Trees from Seeds