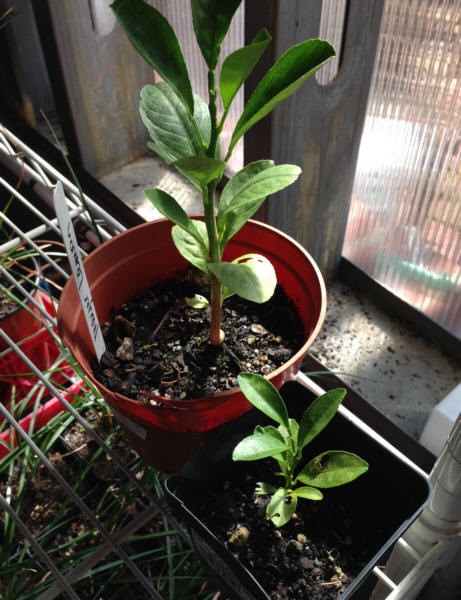
Last winter, I planted several apple trees — two in my yard, and four at the family farm. Of the two in my yard, one is doing spectacularly. It needs to be pruned, but is healthy and growing well. The other was the victim of a small accident — my husband cut down a small mimosa growing on our fence line and it fell directly onto the apple tree, breaking most of its tender branches and splitting the trunk all the way down to about a foot off the ground. But it came back! I couldn’t believe it when I found new growth all around where it had been split. We’ll see what it does next year.
Of the trees at the farm, one appears to be dead, another is living but suffering, and two others are doing well. I’ve tried to identify the pests and/or disease that killed the first one, but apples are susceptible to so many different things. We are lucky to also have two fully mature, producing trees at the farm! They are old — they’ve been there as long as I can
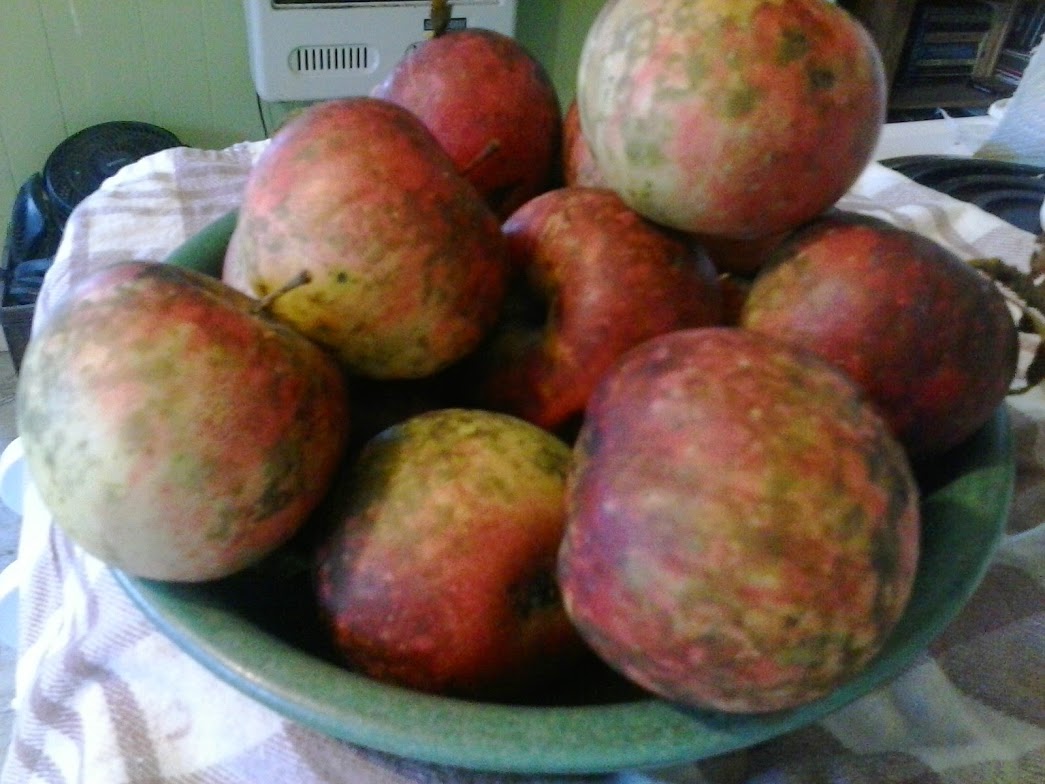
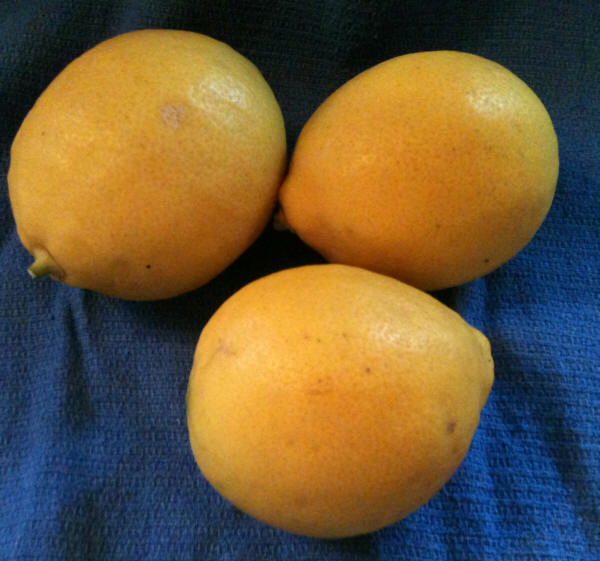
They may not be grocery store pretty, but they are farm fresh delicious!
remember — and no one is sure what variety they are. The fruit is small, splotchy red, and very slightly tart.
This year, they both produced heavily so I decided to try my hand at making apple jelly. Then I read some recipes and decided to try apple preserves instead! What I actually ended up with could be more accurately described as apple flavored syrup with pieces of apple…Here’s the recipe I (sort of) followed: http://www.tasteofhome.com/recipes/caramel-apple-jam.
I say “sort of” because I did things out of order, which, no doubt, was the downfall of my preserves. I put everything in the pot together and simmered it until the apples were tender, then brought it to a boil and then put it in sterilized jars. It didn’t gel. Live and learn,
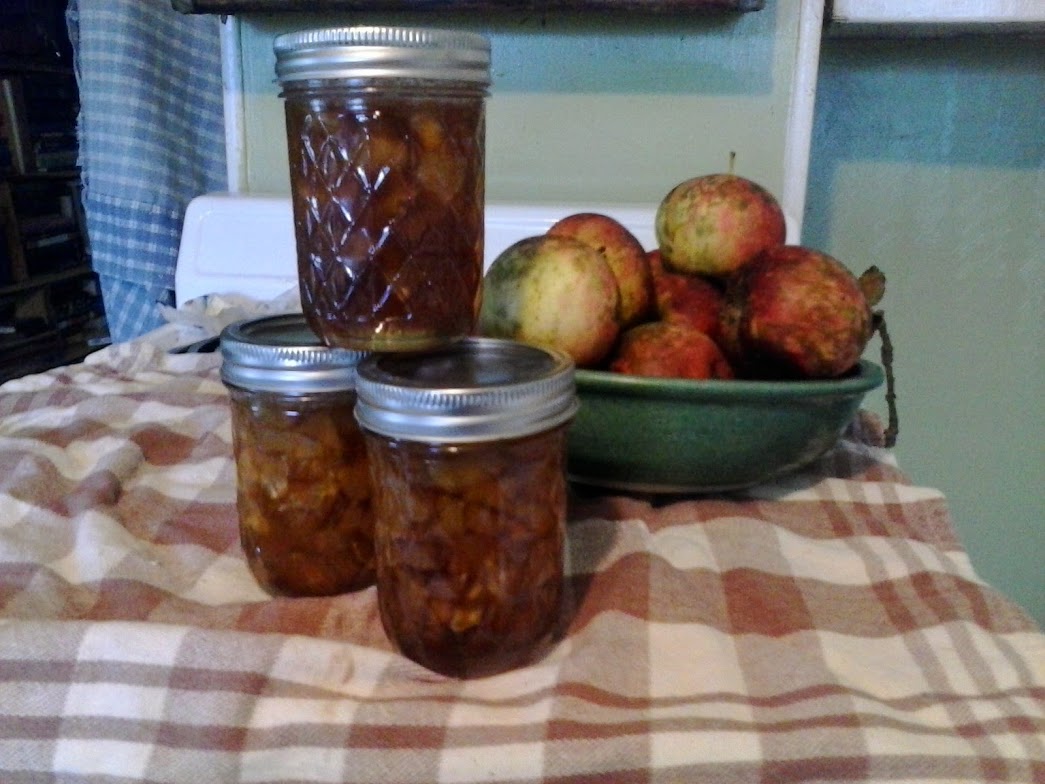
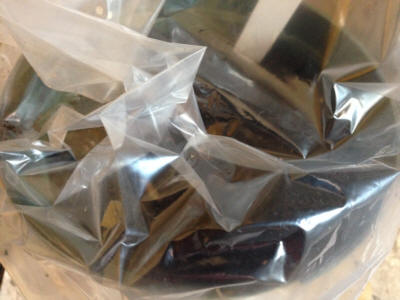
The jars look nice, anyway!
my friends.
On a positive note, that apple syrup will be perfect for sweetening oatmeal and for eating with pancakes. AND — there are plenty of apples left to try again. This time, I’m going to go with a traditional jelly recipe, and follow the instructions much more closely. I’ll let you guys know how it works out!