One of my friends asked “What do you do in your business when it’s not planting time?”
mhmhmhmzzz. The list is long.
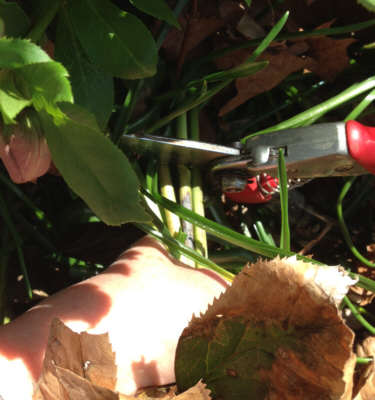
Today, I started by watering the plants and misting the cuttings in the greenhouse. Then I swept the greenhouse floor and turned into plant detective. I looked for critters such as aphids and spider mites and any signs of diseases that love infesting greenhouse plants.
Next, I finished printing shipping labels and getting packages mailed out. While doing so, I noticed that I was out of the Tennessee Shipping Notification certificates that are required for plant shipments. So the remainder of the morning was spent on printing and filling out a, hopefully sufficient,supply of the certificates for the spring 2014 shipping season.
After all that tedious work, first a lunch break and then a little fun activity: Looking through one of the suppliers catalogs and the availability list. Next, checking the business budget to see how much money is available for purchasing. Happy Dance, followed by a call to the broker to order some more new products, followed by another happy dance when the desired items are still available.
Then checking and answering emails, printing out paperwork for orders that will be shipped tomorrow. Pulling and packing products.
In between: Looking at Facebook. Answering the phone. Making coffee. Making Tea. Running a load of laundry. Knitting a few rows.
Finally, just enough time left in the day to write this blog post and then I am off to an evening yoga class.
OH, you’re wondering what I may have selected?
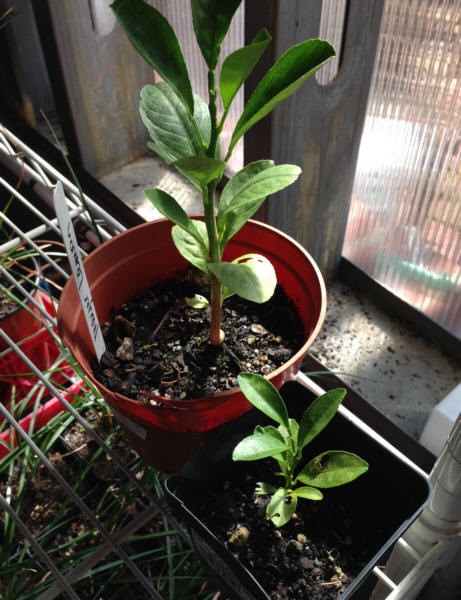
Honestly, it wasn’t easy. the catalogs are always so beautiful and the selection is difficult. Maybe you know exactly what that feels like? My focus today was a few more edibles, particularly interesting edibles that won’t be on the shelves at the local box store.
Look for these new plants in our online store Edibles section later this month.
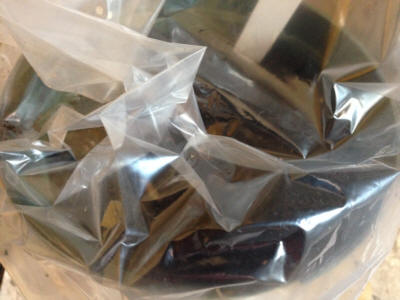
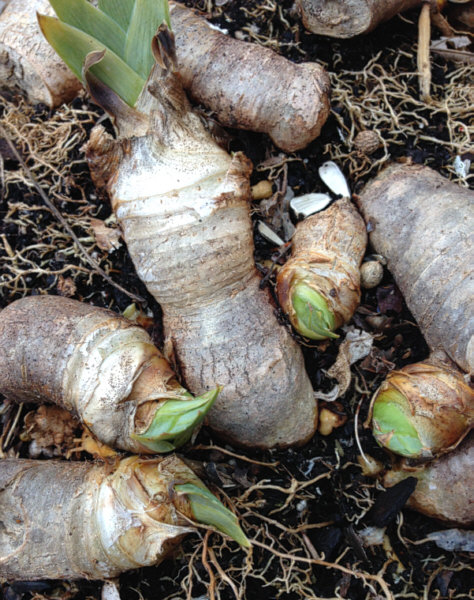
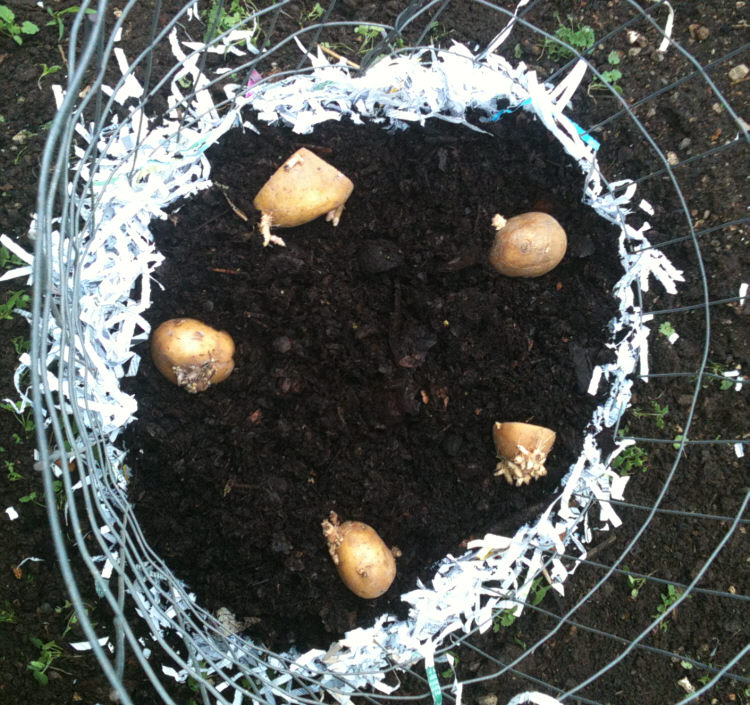
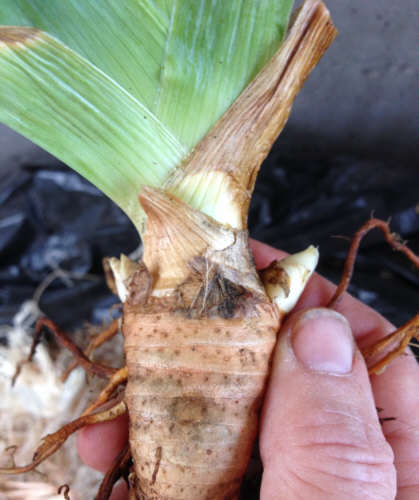
Hardy Kiwi, Goji Berry, Haskap Berry, Seedless Red Grapes, and Seed Potatoes.
I am planning to do a potato tower this year. The last time I tried with store bought potatoes and it was not a success (despite how well the planting looked when I started out). I have learned why and will share my experiences when the time comes to start the tower for the 2014 season.

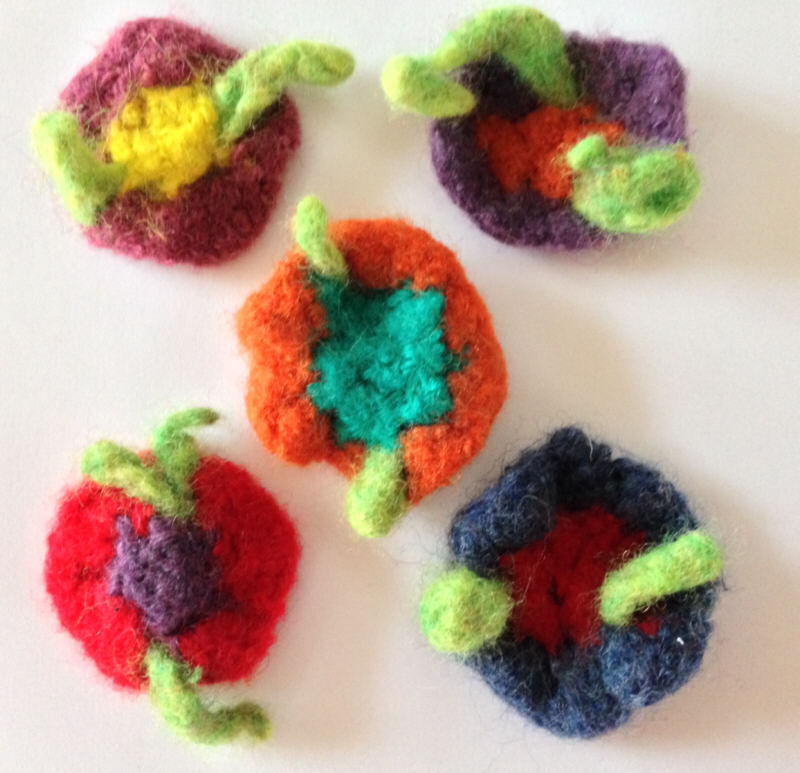
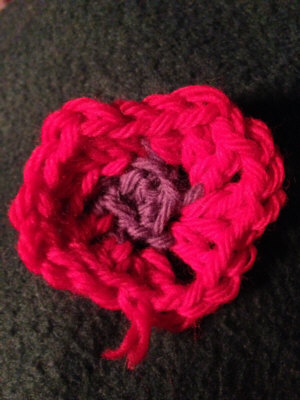 Crochet flower
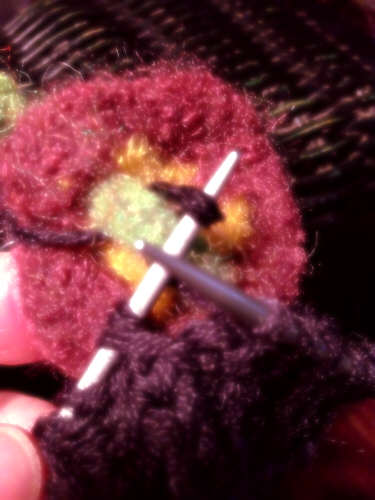
 Leaf added