There are lots of reasons to try vertical gardening. The most frequently mentioned is space, but even if you have plenty of room you might want to try it for aesthetic reasons. A vertical garden creates an attractive screen, a focal point similar to a painting on a wall, or shade.
Your imagination is the only limit when it comes to vertical gardening. One of the first times I encountered it was in reading Square Foot Gardening by Mel Bartholomew. As the title suggests, space was the main concern in that book. Bartholomew lays out instructions for growing a number of vegetable garden crops vertically, including watermelon! He uses nets for the melons.
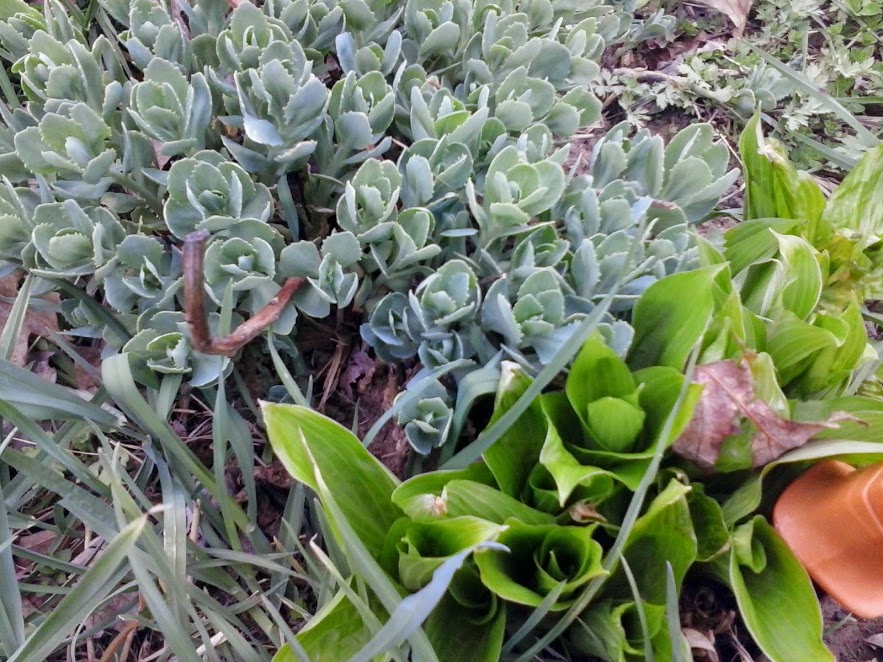
Some plants must be grown vertically for best results. Peas, cucumbers, some varieties of beans, and plenty of other vegetables — not to mention the many types of climbing roses — require poles, stakes, or trellises. Our fence row is decorated with gorgeous (if invasive) morning glories every fall.
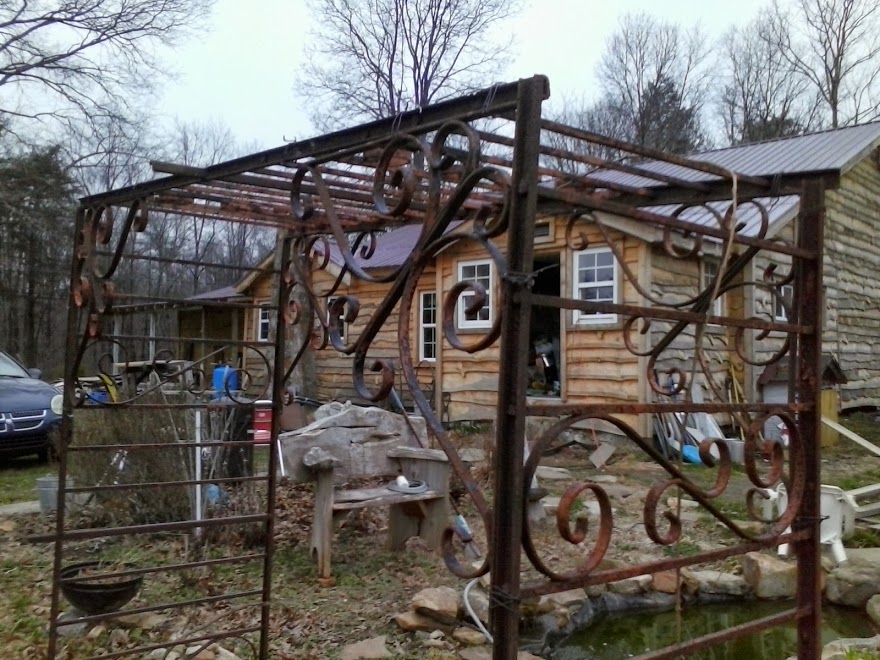
My own current efforts at vertical gardening include a grape arbor:
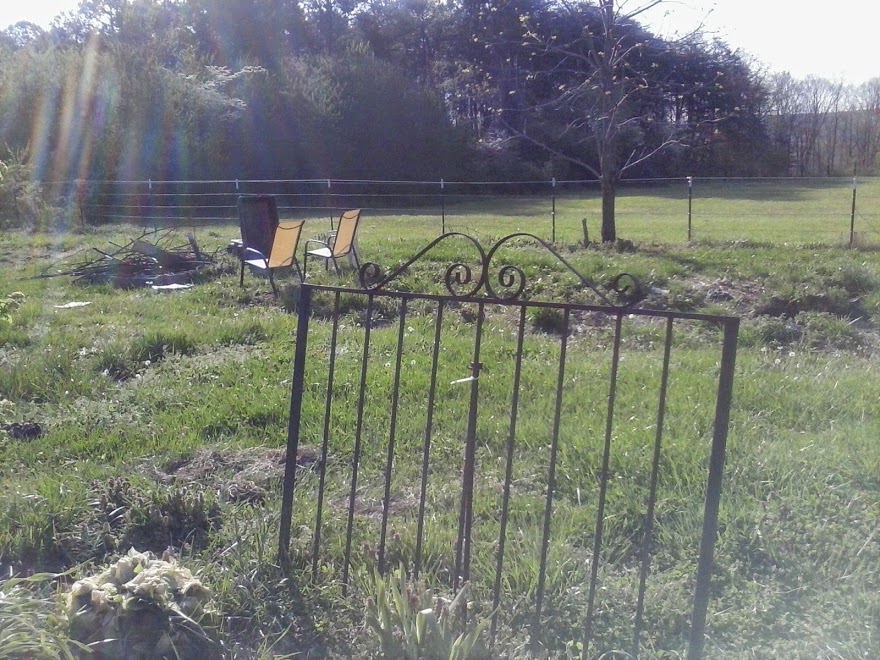
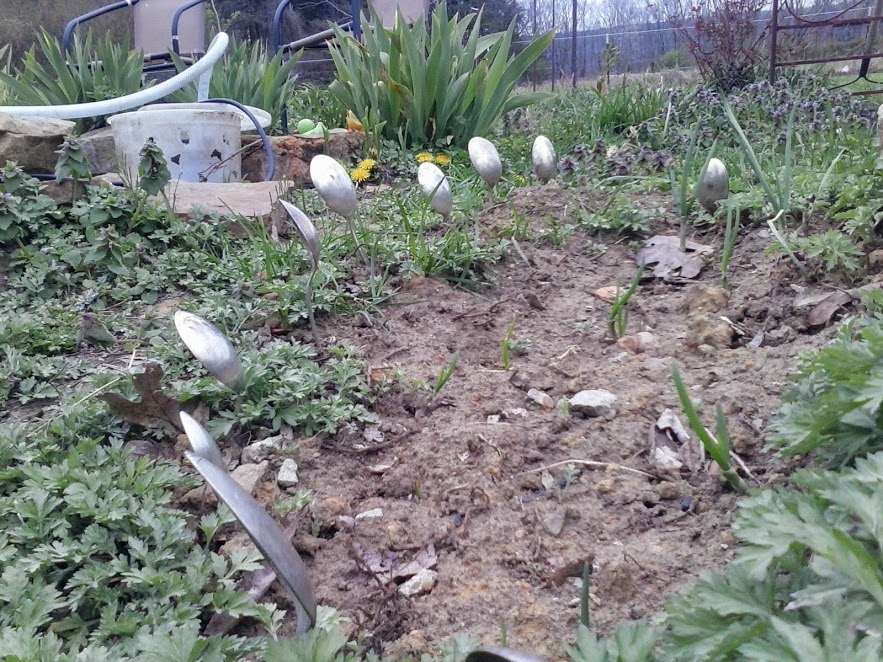
 some peas on an old cast iron gate (the pea plants are still tiny):
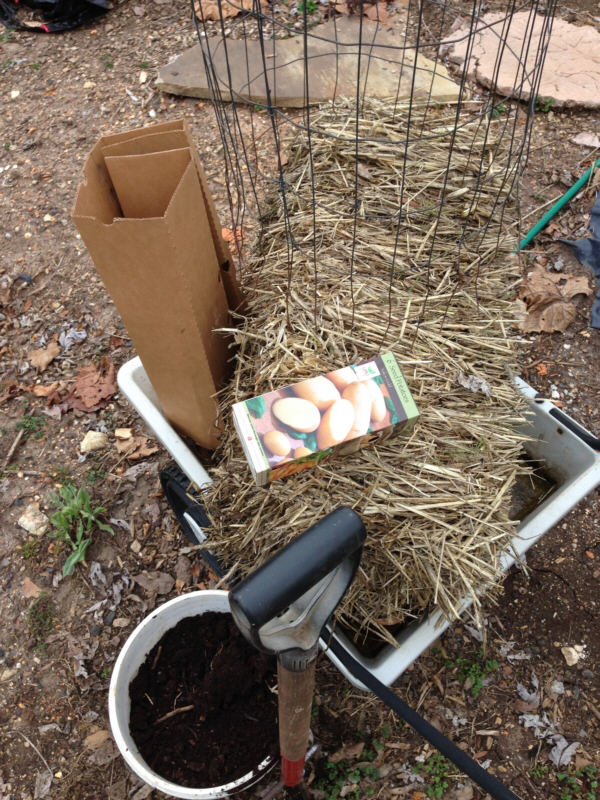
 and a structure for a sweet autumn clematis that appeared magically growing up a tree in my front yard last year (I haven’t moved the plant yet — just put together the structure):
 Besides an indulgence of my unpredictable whims, all of these vertical structures are simply to provide interest in the garden. I worry about having too many plants that are roughly the same height — or the same color, or that bloom at the same time. (Sigh. The complications of haphazard gardening.)
Belle uses succulents in a really interesting vertical structure. The wooden structure creates a frame, and the succulents are a variety of color and texture. The whole thing looks like a work of art.
Regardless of how much space you have, you may want to try your hand at growing some plants up and up. The most important thing is to make sure your structure is sturdy enough to withstand the pull and tug of your plants. Before we built the grape arbor, our grape vines pulled down the flimsy gate they were growing on.


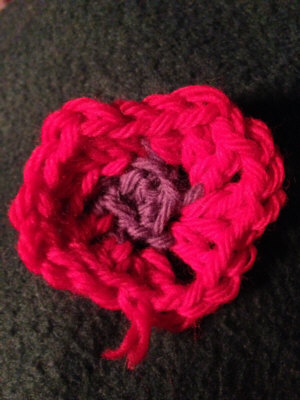 Crochet flower
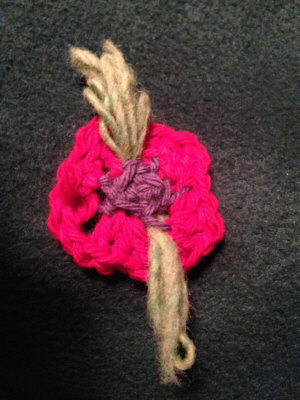 Leaf added