If you look underneath your big plant and see all the volunteer babies, you’d think it would be quite easy to collect the seeds and plant them in a container or a new location and end up with lots of new plants shortly. It’s not quite that simple but it’s also not as difficult to get the seeds to sprout as some people will have you believe.
The challenge lies in giving the seeds just the ‘right’ environment as they require stratification. There’s lots of info about so many weeks of warm, moist and so long in cold, moist to induce germination. You can get as scientific about the process as you like. But I like EASY. So here’s my EASY method for sprouting hellebore seeds.
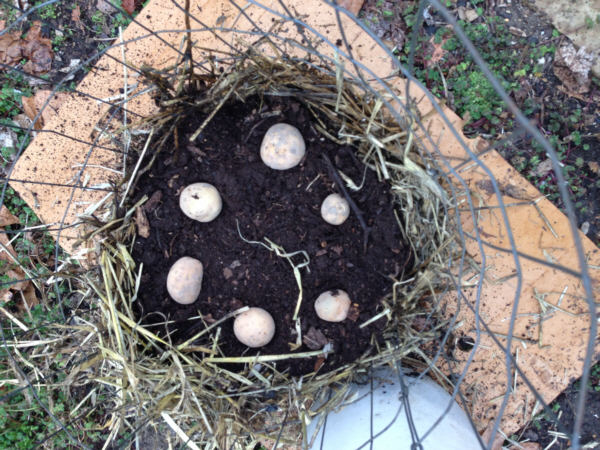
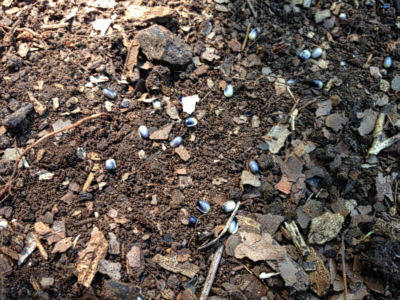
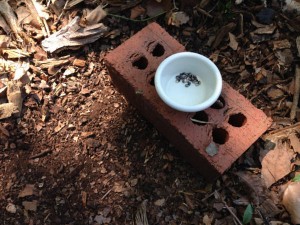 You will need one brick for every 15 to 20 seeds. Collect the seeds when they are ripe and fresh, usually sometime in May for most locations. Plant your seeds as es soon as possible after purchasing or collecting, you’ll want them in the ground by the end of June at the latest. Select your new planting spot. Just rough up the soil a little and sprinkle your seeds. Top them with the flat side of your brick. You’re done!
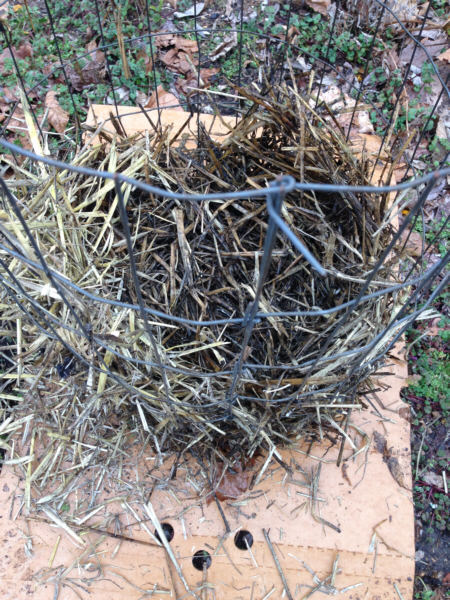
The brick will hold the seeds in place, provide just the proper environment both moisture and temperature wise to allow your seeds to do their thing. In warmer climates without snow cover, lift-off the brick in mid-January of the year following planting. 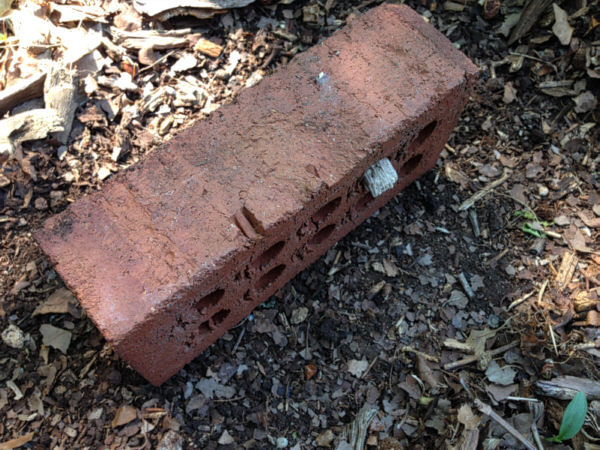 You may have tiny little seedlings that are flat like pancakes, don’t worry, they’ll straighten right up. In colder areas with snow cover, whenever your snow has melted, lift the brick once a week and check for seedlings. As soon as you see babies, remove the brick.
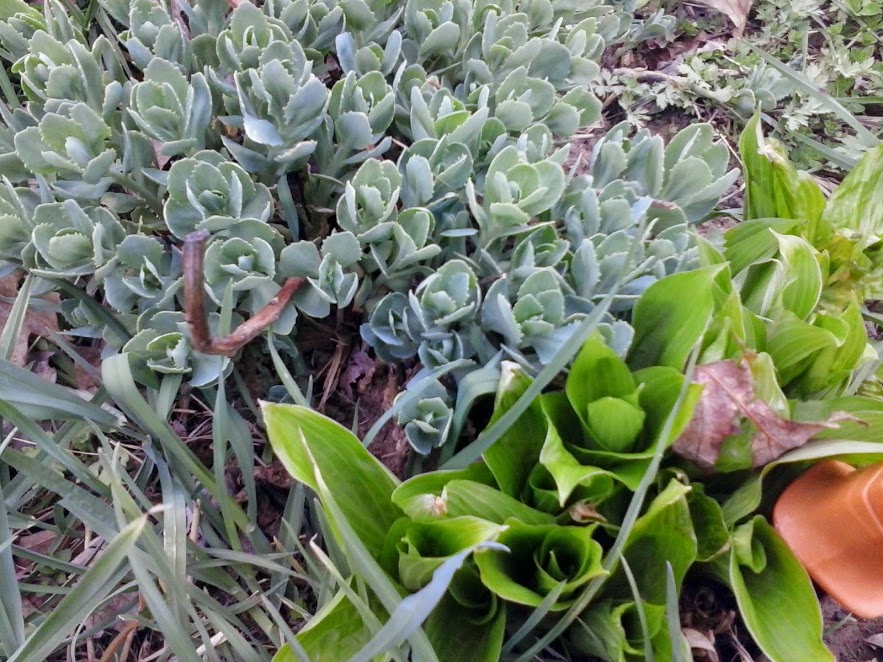
It will take about 3-4 years before your new babies will be large enough to bloom and each baby will be a new plant that may or may not resemble its parent. Here’s a picture of one of my seedlings that I really like a lot:
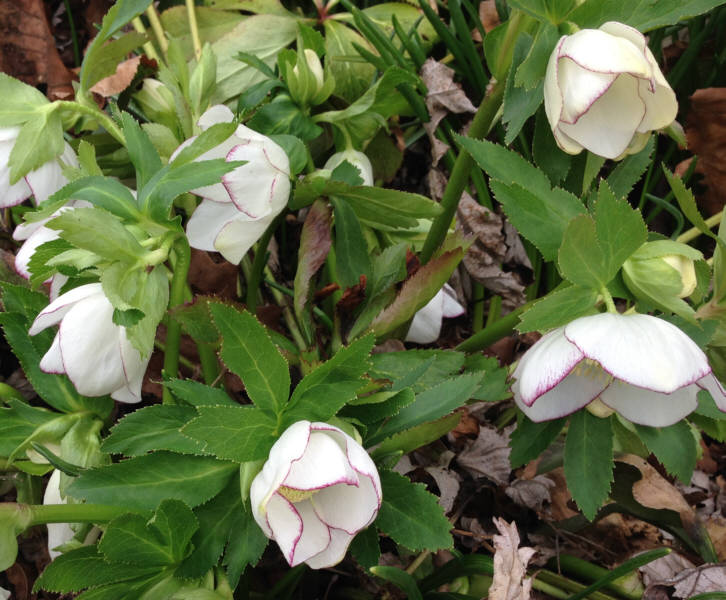
My burgundy rim helleborus seedling