Saving the Heat

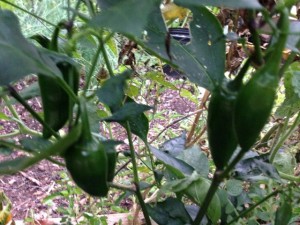
Have you enjoyed a plentiful pepper harvest this year? Are you wondering what in the world to do with all your peppers? Recently a Green Thumbs Galore customer mentioned that he and his wife uses ice cube trays to freeze peppers. Over the winter they use more cubes for hotter dishes. We thought it was a brilliant idea!

One lesson that I learned the hard way is that it is best to wear gloves when you’re working with peppers. Some people say that rubbing lime juice on your hands will protect them, but Belle has had no luck with this method and I’m not willing to take any chances. It’s also a very good idea to not touch your face. I was making salsa with fresh, hot peppers one time and ate a tomato. I inadvertently touched my lip and it burned for hours!

If you’d like to try the freezer method, chop your peppers finely, put them in the trays, then top the trays off with water. After they are frozen solid, remove the cubes and put them in freezer bags. You can then just add the cubes to soups, chilis, casseroles, or whatever you want throughout the winter.

Peppers can also be frozen whole or sliced in half. Wash them and make sure they are completely dry. If you are slicing them, you can either remove the seeds or not — the best thing to do is whatever you would do if you were using the peppers fresh. You’ll want to freeze them individually before putting them in a bag in order to prevent them sticking together in the bag. Spread them out on a cookie sheet and stick them in the freezer for a couple of hours, then put them in freezer bags, date them, and pop them back in the freezer.

Another way to make your pepper harvest last all year is to make pepper sauce. Pepper sauce is so simple and so versatile you’ll wonder why you haven’t made it every year. All you need is a glass bottle with a cork or a cap, vinegar, peppers, and whatever spices you like. We usually use garlic cloves and black peppercorns. Heat the vinegar but not to boiling. Stuff your peppers, crushed garlic, and about a teaspoon or so of black peppercorns in your jar. Fill the jar with hot vinegar. The mixture doesn’t have to be refrigerated, and if the vinegar runs low, just add more. Pepper sauce is excellent with greens, pinto beans, black-eyed peas, and cornbread.

If you prefer hot sauce, the ingredients are nearly the same. The difference is, you cook the mixture until the peppers are soft, then you puree it and pour it into your jars or bottles. Add ingredients or spices as you like. The beauty of working with peppers is that they are so flexible. You can make your sauce hotter — pureeing the peppers makes the hot sauce HOT — or not, you can add onion, or salt, or even a little sugar. It’s nearly impossible to ruin hot sauce or pepper sauce.

What is your favorite way to preserve your pepper harvest? Jalapenos
Jalapenos


The Finest Figs

Have you ever eaten a fresh fig? Figs have almost no shelf life, and so are not usually sold in grocery stores. Unless you are lucky enough to either have a fig tree in your yard or you have a friend with a fig tree, you may not have had the pleasure of eating a perfectly ripe fig.

One of the great pleasures of growing edibles is the ability to grow things you can’t easily get a the store. For instance, even though you can usually purchase heirloom tomatoes in a rainbow of colors when they are in season, you can’t usually buy marinara sauce made from heirlooms. But if you grow your own, you can make whatever you like from them!

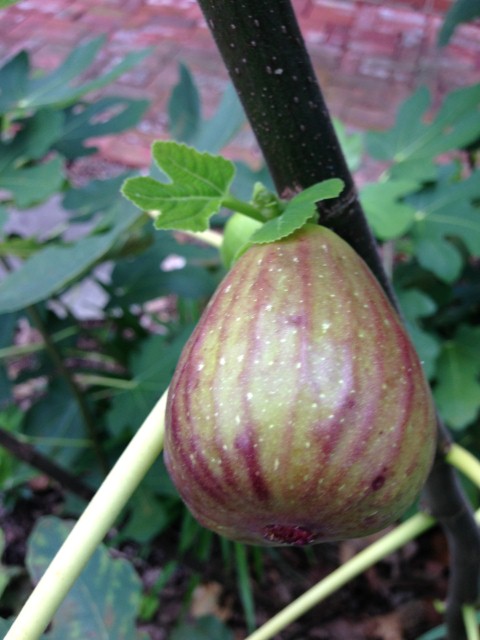
2014-09-03 15.13.16 (Small)Figs are delicate. They have a delicate flavor, and they don’t pack or ship well. They are best consumed within hours of being picked. Of course, if you have a tree full of figs, you may not be able to eat them all as soon as they are ripe — though Belle tells me that she and Jeff wish every year that their tree would produce more figs!

There are several ways to use ripe figs, from recipes like bacon wrapped figs to making fig preserves. Here are some great directions for freezing figs from pickyourown.org. Then, you just thaw them, and eat them whenever you feel the need for a taste of summer.

Belle and I had lunch at Community Pie a couple of summers ago and she ordered sweet fig pizza with prosciutto, Gorgonzola, kalamata olives, goat Gouda fig preserves, and arugula, and it was absolutely delicious! If you make your own fig preserves you’re sure to find plenty of creative ways to use them, as long as you don’t eat them all up on toast, which is probably what I would do.

Fig trees are easier to grow than many other types of fruit trees, and they make a lovely addition to the landscape. Figs should be planted in the spring, so you have plenty of time to plan and order yours!


Planning a Winter Vegetable Garden

There’s nothing quite like putting those first few seeds in the ground in the spring time. But, there is something to be said for sowing in late summer, too. I look at our giant garden right now — and even though there is a blister on my thumb from snapping beans — feel sad that there will be months when I won’t be able to walk out and get a tomato or a squash for dinner. This year, we are going to have a fall/winter garden so the fresh food can go on!

The most important part of planning a winter garden is counting days. For plants like beets, which do well when it’s chilly but can’t take frost, you look at the days to maturity and the average first frost date for your area. For example, I want to grow some Chioggia Beets this fall. It takes 52 days for them to reach maturity. The average first frost date for Chattanooga is October 15. Today is August 18, so I better get the seed in the ground…immediately!

Other plants, such as spinach and kale are frost tolerant, so the counting of days is less important. We will mix together turnip green, mustard, spinach, and kale seed and broadcast them for a mixed greens patch that will provide beans right up through December or so. That’s the plan, anyway.

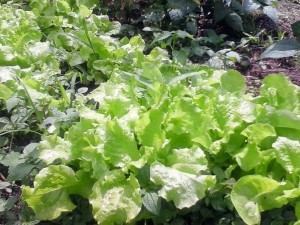
Lettuce matures quickly and doesn't mind cool temps, making it an excellent fall garden option.

Lettuce matures quickly and doesn’t mind cool temps, making it an excellent fall garden option.

There are plenty of vegetables for a fall/winter garden: onions, broccoli, cabbage, garlic, greens, and many root crops. It’s not exactly the same as a bounty of tomatoes and corn, but even a little bit of time in the garden and fresh produce on the table does a body good! Do you regularly grow fall and winter vegetables?


Celebrate your Garden

Last night, a lovely Friday night with a gorgeous, bright full moon shining down, my family began what is sure to be a long process: preserving the harvest. We’d picked beans several times through the week and picked even more before sitting down to string and snap them. Next came washing and canning. We managed to get 14 quarts canned by midnight; there are that many more to process today.

We expect there will be that many each week until the end of the season. In the meantime, the okra is quickly ripening. We aren’t sure yet just how productive it will be, but it could well be just as generous as the beans. Since pickled okra is a family favorite, we will be happy to have plenty of jars on our shelves. I’m not so sure how we will feel packing that 130th jar.

Canning

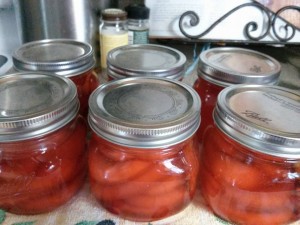
Canned fruit. Picture courtesy of J. Sc.

Then, there are tomatoes. We have fewer tomato plants, but there will certainly be enough that some of them will need to be preserved. So far, the squash has produced in smaller quantities, but within a month or so, it’s likely there will be quite a lot of it as well.  And the corn…barring any groundhog or crow attacks, we are expecting somewhere between 800 and 1200 ears of corn.

All of this leaves out the grapes, blackberries, blueberries, and apples. There will be much smaller quantities of those to deal with, but we do want to try some jellies. The question is: how much can people who have other jobs and other responsibilities get done? The truth is, some of our harvest is likely to feed the birds, or will add nutrients to the soil as compost.

We’ll do what we can, of course, but we probably won’t get every bit of value from this year’s harvest. And that’s okay. There won’t be any guilt for not getting that last jar of beans canned, or making that last batch of chow chow. Instead, we will celebrate the achievements of the season. We’ll count our jars and feel a bubble of pride, and look at the stacks of bags in the freezer and know we did just fine this year.

It’s easy to let the responsibility of the garden become a burden. Avoiding vacations, spending every free moment either picking or processing the harvest, and worrying about what you aren’t getting done when you are doing anything other than garden related chores can suck the pleasure right out of your garden.

Do what you can and don’t sweat the rest. Very few of us are subsisting from our gardens, so it’s unlikely you will go hungry if you miss a few beans or a tomato hits the ground. Enjoy what you do harvest, and celebrate your garden!

Raspberry Jam

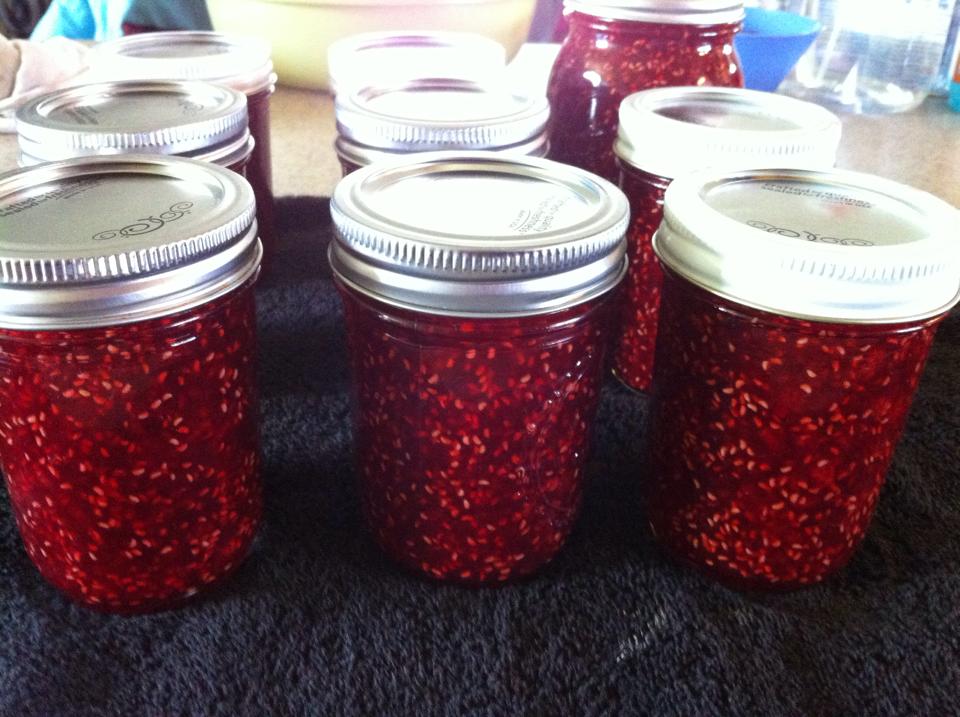
Raspberry jam. Picture courtesy of S. B.

Violas, Violas Everywhere

Weeding.  There no other garden chore that is so destructive and satisfying at the same time. With elbow grease, plastic, paper and heavy mulching, we’ve managed to remove many undesirable plants from our garden.  One of the plants that has been defying all our efforts to this time has been violas.  Not African Violets but those little, pesky, violet spring blooming flowers that pop up in lawns and shady areas.

This year, I am sparing them from the sharp edge of the weeding tool.
Why?  Sweet Violet Sirup.
On our walking trip along the Le Puy Way of the Camino de Santiago this summer, one of the most refreshing drinks we encountered was chilled violet water made from home-made violet (viola) sirup. It’s the French answer to Iced Tea and much tastier.

Here’s the recipe:
1 cup viola flowers, remove stems and rinse. Put into a glass (Mason) jar.
Pour 1 cup of boiling water over the flowers and let mixture sit covered for 24 hours.
Put mixture in saucepan, add 1 cup sugar and bring to a low boil, stir until all the sugar has dissolved.  Strain through a fine sieve or cheesecloth, label bottle and store in a cool place for up to 12 month.

A little of the sirup goes a long way; add to plain or sparkling water, ice cream, etc.

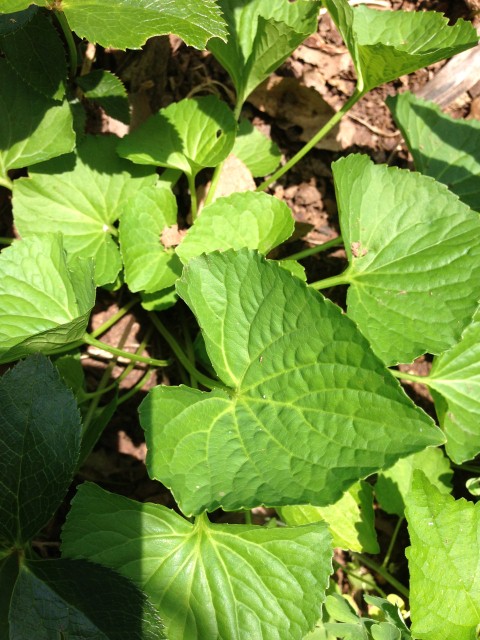
Viola Plant

Viola Plant

Walking Onions

Generally, when people think of onions, they are thinking of the annual plant we all know and love. Vidalia, red, green, yellow, white…there are enough types of onions to keep pretty much anyone’s mouth happy! A couple of weeks ago, Belle asked if I’d like to write about “walking onions.” Since I had never heard of them before, I enthusiastically agreed — it’s always fun to learn something new.

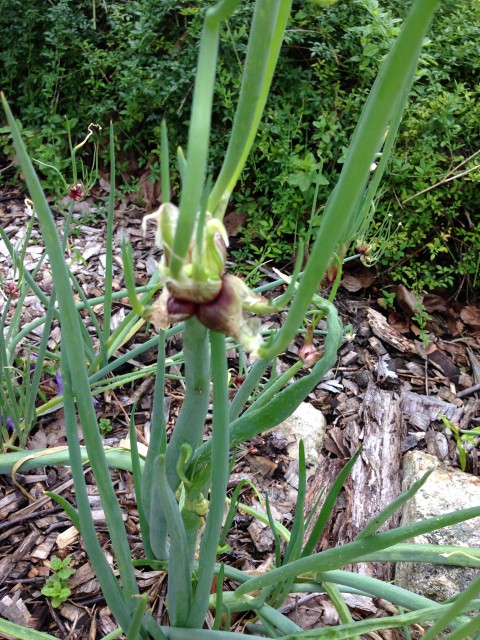
The scientific name for these perennial onions is Allium proliferum, and they have many common names in addition to walking onion: topset onion, Egyptian onion, and tree onion. The difference between this variety and the common onion we all know and love is the fact that these onions form tiny “bulblets” at the tops of the leaves. In other words, they are “topsetting” onions.
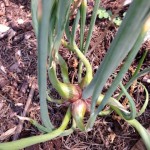
walking onions 03 (2) (Small)walking onions 02 (Small)Eventually, as the leaves dry out and the bulblets get heavier, they fall over. When soil conditions are right, the bulblet will form a new plant. Over time, they will “walk” across the garden, as the plants fall over and reseed themselves. Topsets do not form the first year, though the plants will come back in the spring.
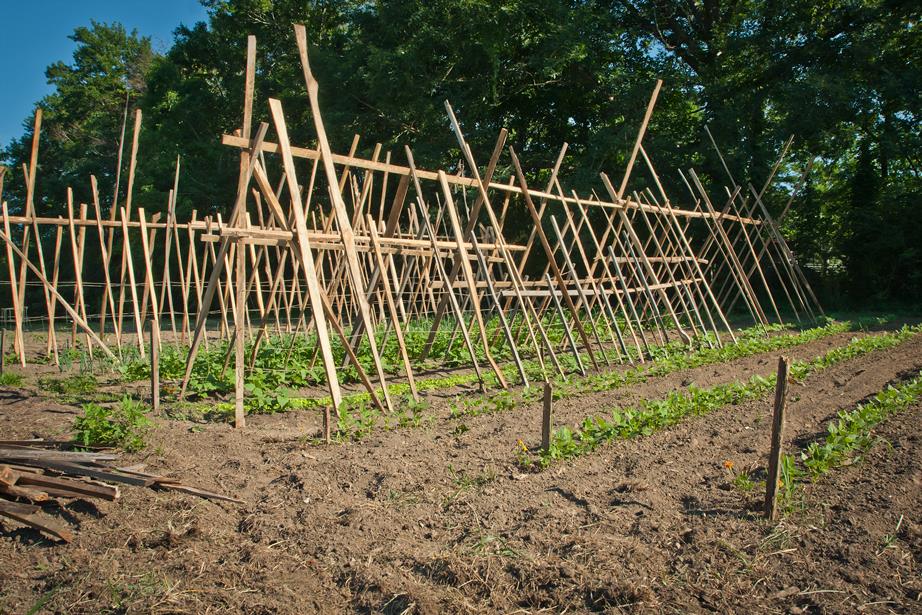
All parts of the walking onion plant can be eaten; however, harvesting the bulb cluster will prevent the formation of the topset. Leave a few if you want to grow them as perennials. The leaves are often used in the same way people use chives or green onions, and the bulb is similar to a common onion, though some people say they are a bit stronger-flavored.

One of the most intriguing things I read was that the topsets can be harvested and either eaten right away, or preserved by pickling. With the recent popularity of pickling on cooking websites, I thought there might be a recipe out there. Sure enough, I found this one on a website called Dave’s Garden.

Now I want to taste an onion topset — pickled or not! Plus, they are really cool looking plants. They grow year-round in mild climates, and though they can be planted any time, are best planted in the fall. I’m definitely adding these to my (ever-growing) fall planting list!

Do you grow onions? What varieties are your favorites? Have you ever pickled onions? 

Gardening at the Home Place

Belle and I both write mostly about growing flowers and fruits, so this post is a bit of a departure because it is about a more traditional kind of vegetable garden. My family owns a small farm collectively, and this year we are growing a garden together. My grandparents always grew a huge garden and we all share fond memories of working in it — but especially of eating up the proceeds from it — zealously and with great enjoyment.

Last year, one of my uncles planted a dozen blueberry plants and some grapes. Over the winter, I added four apple trees to keep the one already there company. In the spring, we built a small raised bed for perennial herbs, and got going on the big vegetable garden. Here’s what it looks like now:

FarmgardenJune1We have several varieties of tomatoes, two lettuce beds, onions, spaghetti squash, yellow squash, LOTS of radishes, beans, beans, and more beans, parsley, rosemary, sage, watermelons, bell peppers, okra and a few cucumbers. We still plan to put in some carrots and some corn, and maybe one or two more things if we find the time. In late July or August we’ll add several types of greens, broccoli, Brussels sprouts, garlic, and maybe potatoes for a fall/winter crop.

It’s difficult to describe the joy that working in this garden brings. It’s in a beautiful place, with a stunning view. Combine the natural beauty with a couple of lifetimes’ worth of happy memories, and you can see why it’s such a pleasant place to work.

The last weekend in May, several people showed up to work, and we had dinner together, including fresh-from-the-garden lettuce, onion, and radishes. Each week, there will be a little more on our plates straight from the garden and we’ll be sustained in body, spirit, and mind. A garden can be so much more than rows of plants!

Starting Herb Seeds

Herbs add color, fragrance, and texture to the garden — not to mention flavor and variety to the kitchen. Many are perennials and few require special care.  In my time as a haphazard gardener, I’ve grown herbs almost every year. Lots of them have died, due to neglect and/or ignorance, but I have finally hit on a method that works for me. Growing herbs from seed is the most economical way to go, but if you find seeds challenging you might be reluctant. Maybe my method will work for you, too.

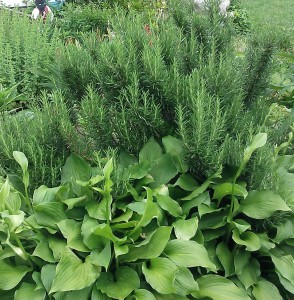
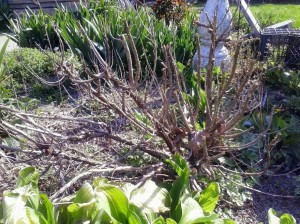
Rosemary is probably my favorite herb, but thyme, oregano, sage, tarragon, cilantro, basil, and parsley are also usually in my beds somewhere. The viciously cold weather last winter seems to have killed my rosemary, so I’ll be starting a new one this year.

Last summer.

Last summer.


This spring.

This spring.

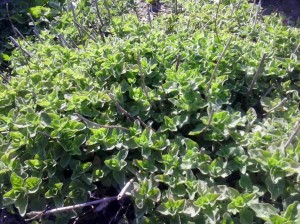
The oregano did just fine.

IMG_20140421_101013

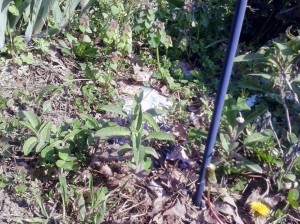
So did the sage, which was surprising because last year was its first year in the ground. I thought it would still be tender.

IMG_20140421_101041

I tried, unsuccessfully, to grow rosemary from seed for a number of years. It would usually germinate just fine, then whither away. The plant that died last year was about four feet tall and absolutely luscious. I would touch it every time I walked by to enjoy its piney scent. The trick for me was to keep it in a pot for a few years.

That has turned out to be the best way for me to grow a number of perennial herbs — get them started in a pot, and bring the pot in over the winter for 2-3 years. Then, when it is firmly established, it seems to do better planted in the ground.

The method I use will probably never be endorsed by any expert, but it has consistently worked:

  1. Fill a pot (any pot with drainage) with potting soil.
  2. Sprinkle some seeds around.
  3. Put the pot outside.
  4. Keep the soil just damp.
  5. Start picking leaves off to use for cooking as soon as there are leaves to pick.
  6. Bring the pot in for the winter.
  7. After 2-3 winters, transplant to the garden.

Of course, some herbs, like basil and parsley work better as annuals, and I just plant new seeds each year for them. Others, like mint and chamomile can be invasive. I don’t mind if they start spreading, but you may prefer to keep them in containers rather than transplanting them into your garden.

Growing herbs from seed is inexpensive, and can have big rewards. It’s certainly worth trying if you haven’t.


Potato Tower

The end of an odd winter..Spring is here.
The morning air is crisp, the sun is warm, and baby plants are stirring. And with temperatures hovering around 50 degrees or so, it’s time to put out the potatoes here in Tennessee.
You may be familiar with our last potato tower experience, or maybe not.  It was nothing to write home about.  For one thing, I used grocery store potatoes. That’s a big No-No but I had to find out for myself.  Grocery store potatoes are treated with anti-sprouting agents and as you can guess, i ended up with a big pile of – Nothing.
This year, I am using certified seed potatoes and my towers is made with a combination of compost and straw.

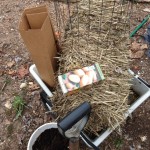
Here’s whPotato Towerat you’ll need:
~ cardboard
~ a cage. I used a stretch of fencing joined in the round
~ straw
~ a bucket-full of compost
~ seed potatoes

potato tower step 1

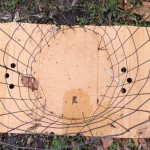
Start by setting up the cage on top on the cardboard,  this will go a long way in keeping the weeds out of the potato tower. Next, add a thick layer of straw to the bottom of the cage, top the straw with your 2/3 of your compost.
Potato Tower step 3
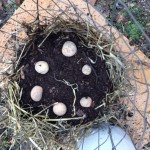
Push the seed potatoes into the compost and cover with Potato Tower step 4the remaining compost.  Top with another layer of straw.
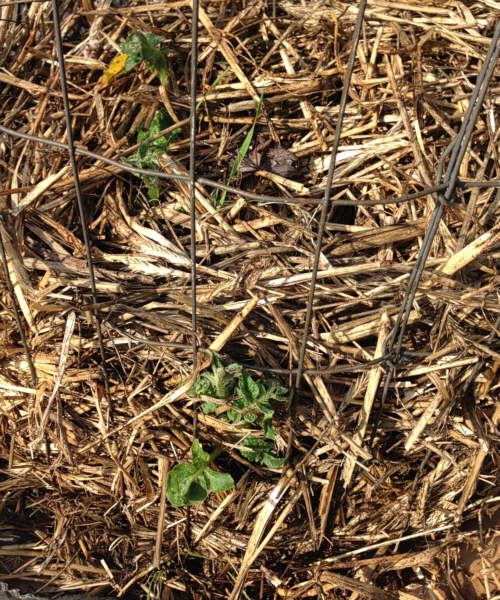
Once the potatoes sprout out, keep adding straw to the tower, keeping about 4 inches of greenery exposed at all times.  Stop adding when the plants set blooms.

So far it’s looking good, don’t you agree?